How to Apply Acrylic Textured Paint: A Step-by-Step Guide for Contractors and Architects
Background
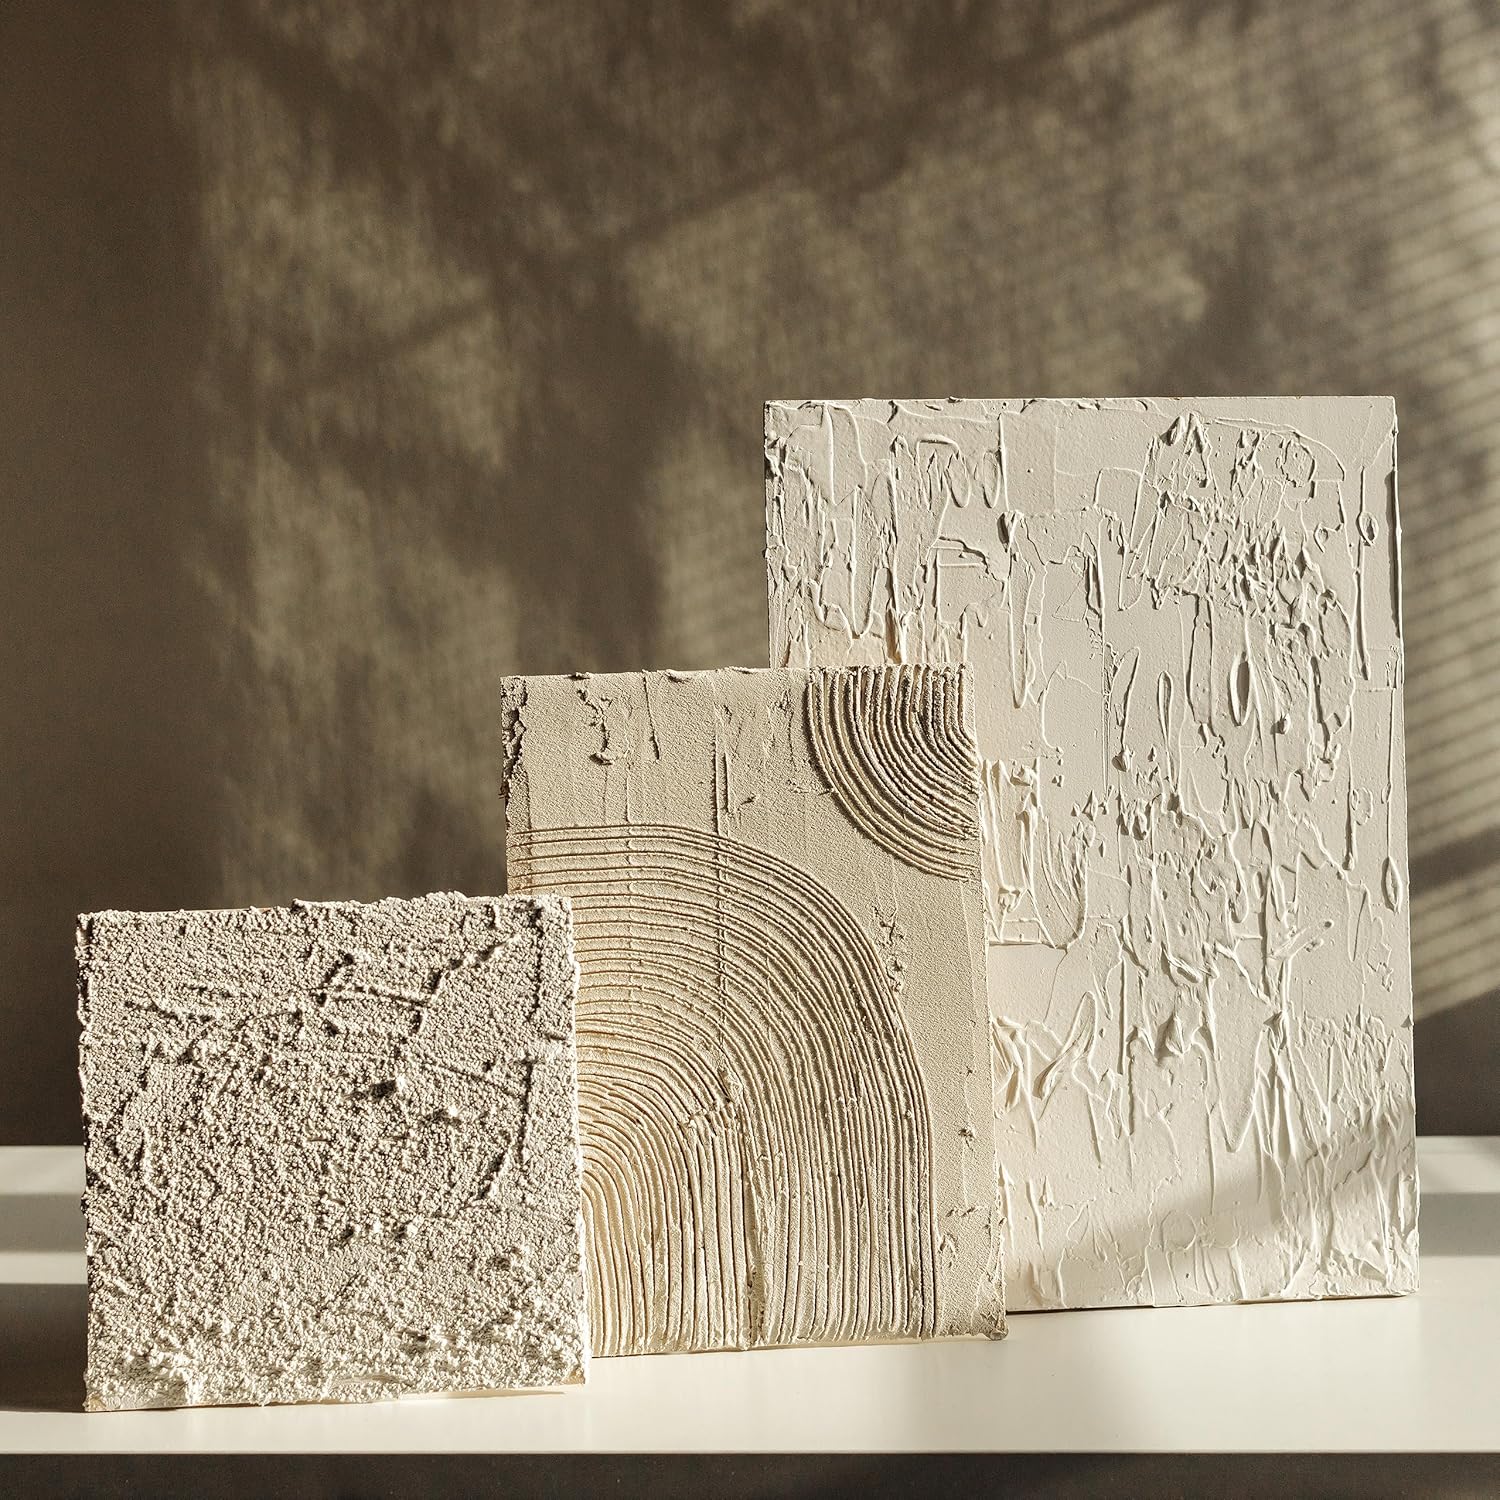
Acrylic textured paint is a versatile decorative wall finish that combines the durability of acrylic stucco with the flexibility of a sand textured paint. Unlike traditional stucco, this trowel-on texture system delivers consistent results on both interior and exterior surfaces while remaining crack-resistant and breathable. For contractors and architects specifying exterior textured coating systems, acrylic-based textures offer faster curing, better adhesion to prepared substrates, and simpler cleanup than cementitious alternatives. This guide walks through the proper application of acrylic textured paint as a textured wall coating from substrate prep to final finish.
Preparation
Tools
- Stainless steel trowel (600 mm blade)
- Stainless steel float (280 mm × 140 mm)
- Mixing paddle with variable-speed drill (min 800 RPM)
- 50 mm wide masking tape
- 150 mm putty knife
- Clean buckets (2 × 20 L)
- Spray bottle with clean water
Materials
- Acrylic textured paint base coat (1.2 kg/m² per coat)
- Primer (acrylic-based, 0.15 L/m²)
- Clean potable water (max 5% dilution if needed)
- Drop cloths (polyethylene, 0.15 mm thickness
Step-by-Step Instructions
Step 1: Substrate Preparation and Priming
1.1 Remove all loose material, dust, and efflorescence from the surface using a stiff brush or pressure washer (max 80 bar for masonry).
1.2 Fill cracks wider than 2 mm with a flexible acrylic filler and allow 24 hours to cure.
1.3 Apply one even coat of acrylic primer using a roller or brush. Coverage rate: 0.15 L/m².
1.4 Allow primer to dry for 4–6 hours at 20°C. Do not proceed if surface feels tacky or cool to the touch.
Step 2: Mixing the Acrylic Textured Paint
2.1 Open the acrylic textured paint bucket and stir thoroughly with a mixing paddle at low speed (400–600 RPM) for 2 minutes.
2.2 Add clean water only if the material is too stiff to spread—maximum 3% by volume. Over-dilution weakens the acrylic stucco bond.
2.3 Mix until the sand textured paint has a uniform, creamy consistency with no lumps. Avoid creating air bubbles.
Step 3: Applying the First Coat (Base Layer)
3.1 Using a stainless steel trowel, load the blade with a 5–6 mm thick layer of acrylic textured paint.
3.2 Apply to the wall in a sweeping, upward motion at a 45° angle. Work in sections of 1–1.5 m².
3.3 Spread the material to an even thickness of 2–3 mm. Use the float to level the surface.
3.4 Allow the first coat to set for 20–30 minutes at 20°C. The surface should be firm but not fully dry.
Step 4: Creating the Texture (Second Coat)
4.1 Mix a fresh batch of acrylic textured paint (same as Step 2).
4.2 Apply a second coat at 1–2 mm thickness using the trowel.
4.3 While the material is still wet, use the float to create the desired trowel-on texture pattern:
- Fine sand finish: Lightly drag the float in circular motions.
- Stipple effect: Dab the float vertically at 100 mm intervals.
4.4 Work in continuous wet edges—do not allow the material to dry between sections.
Step 5: Finishing and Curing
5.1 After applying the decorative wall finish, allow it to dry for 24 hours at minimum 10°C.
5.2 Inspect for thin spots or uneven texture. Apply a third thin coat (0.5 mm) if needed.
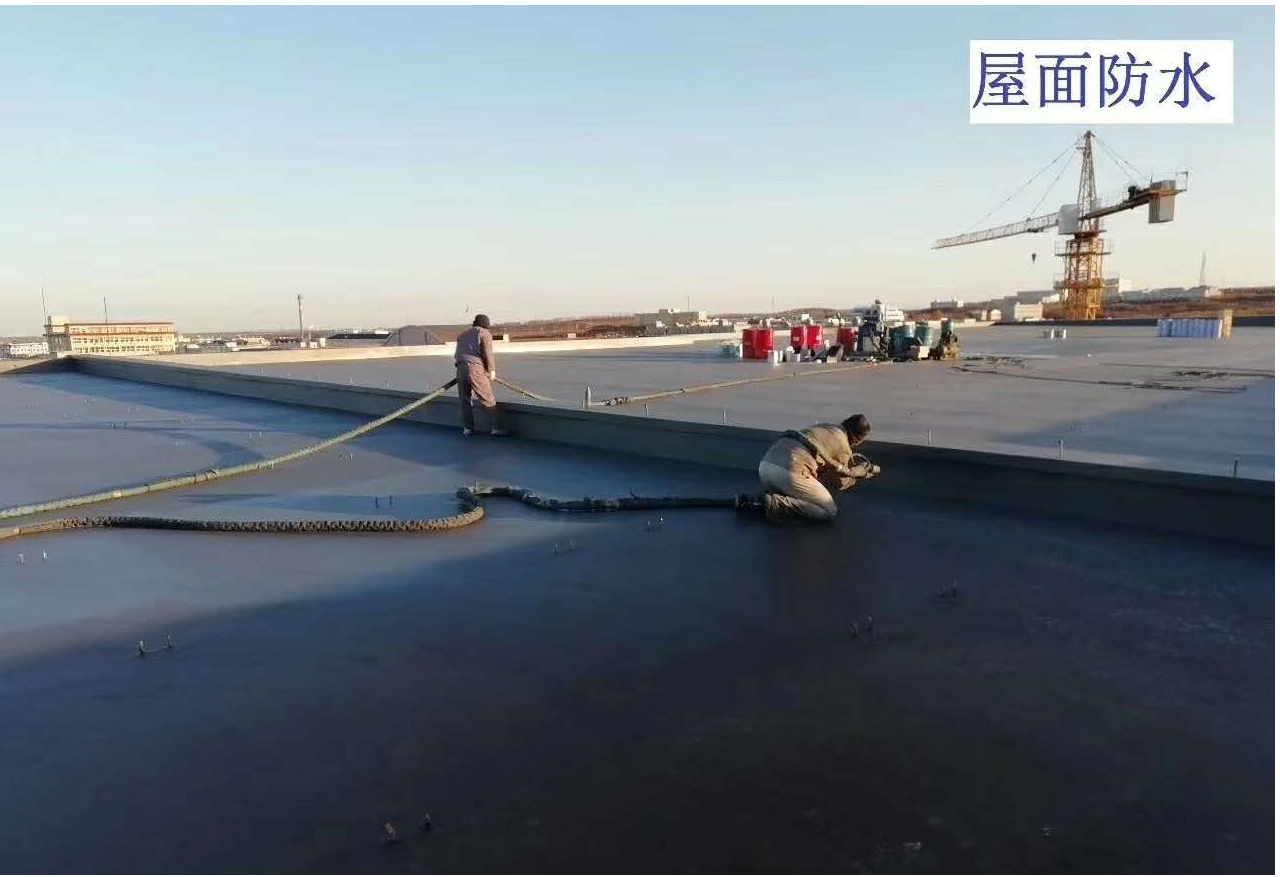
5.3 For exterior textured coating applications, allow 48 hours before exposing to rain or frost.
5.4 Clean tools with water immediately after use—dried acrylic is difficult to remove.
Common Mistakes
Mistake 1: Working on Hot or Cold Surfaces
Avoid applying acrylic textured paint when surface temperature exceeds 35°C or drops below 5°C. Hot surfaces cause rapid drying, creating lap marks. Cold surfaces prevent proper curing and adhesion.
Solution: Check surface temperature with an infrared thermometer. Ideal range is 10–30°C.
Mistake 2: Over-Troweling the Surface
Repeated troweling after the material begins to set destroys the trowel-on texture and can cause cracking.
Solution: Apply and texture within 15 minutes of spreading. If the material skins over, stop and wait for the next coat.
Mistake 3: Using the Wrong Trowel or Float
Using a worn or flexible trowel produces uneven texture and inconsistent thickness.
Solution: Use a rigid stainless steel trowel (minimum 1.5 mm thickness) for acrylic stucco applications.
Product Recommendations
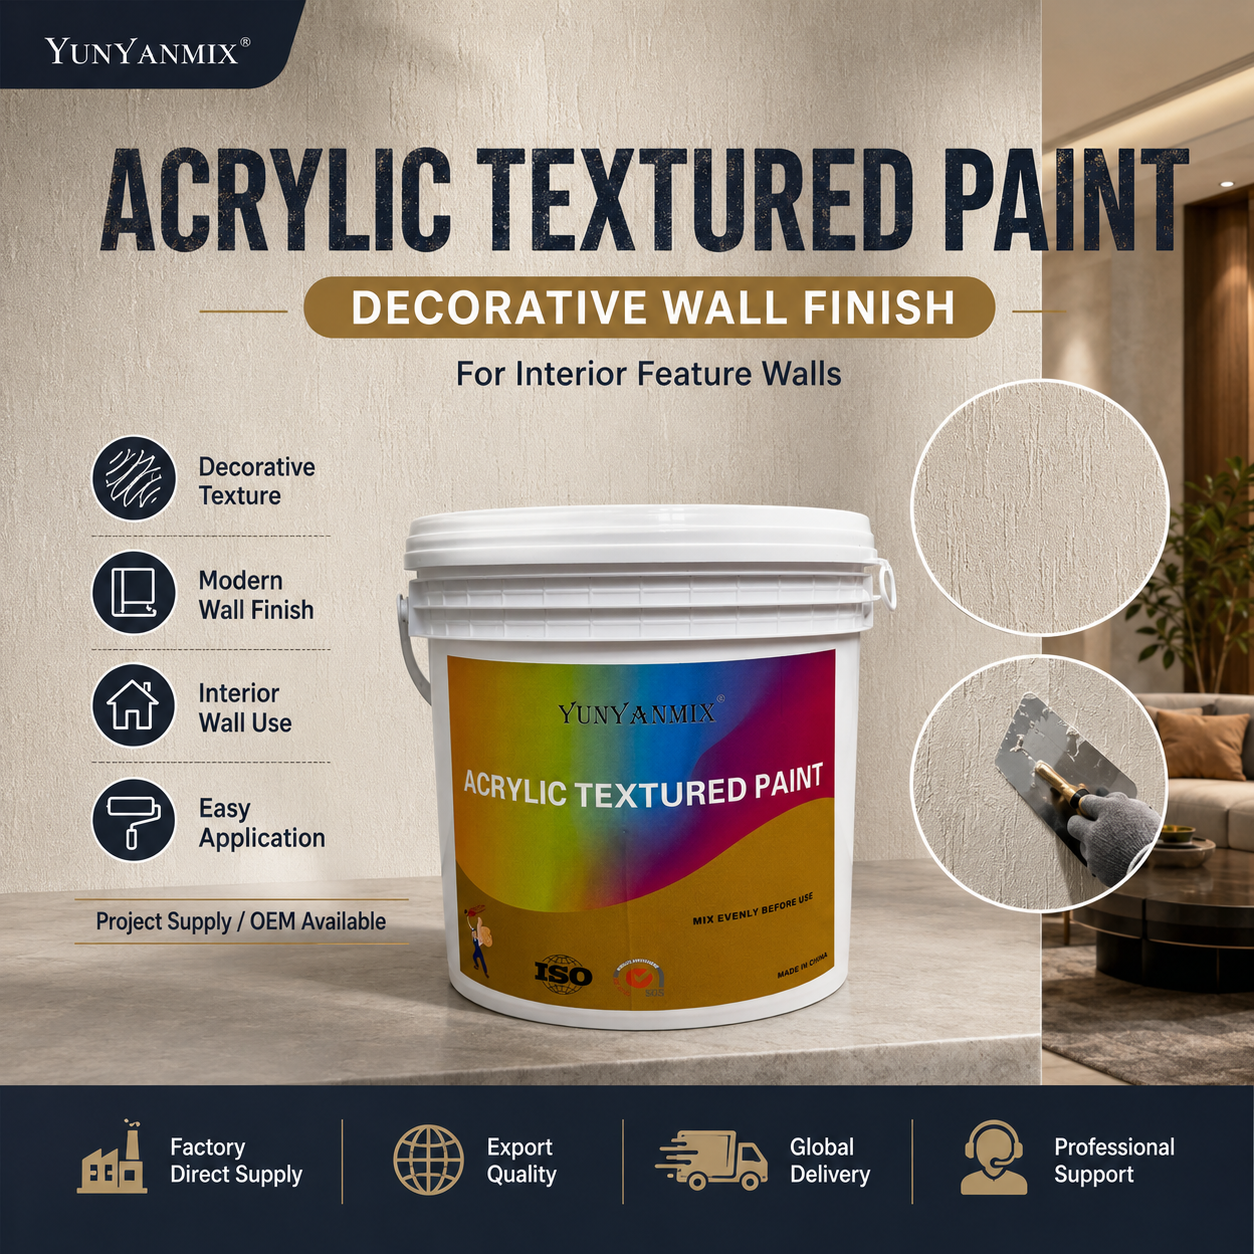
For consistent results with acrylic textured paint, consider YUNYAN's complete system:
- YUNYAN Acrylic Texture Base Coat — provides the structural layer for textured wall coating applications
- YUNYAN Fine Sand Textured Paint — ready-to-use sand textured paint for uniform finish
- YUNYAN Exterior Grade Acrylic Stucco — UV-stable formulation for exterior textured coating projects
- YUNYAN Decorative Wall Finish Series — available in multiple grain sizes for custom trowel-on texture patterns
These products are tested for adhesion, weather resistance, and workability in professional settings. For technical data sheets or application videos, visit yunyanchina.com.
Technical Support
Need assistance with your acrylic textured paint project? Contact YUNYAN's technical team for substrate evaluation, mixing ratios, or troubleshooting. Submit your inquiry at yunyanchina.com/contact-us.