
Why Your Self-Leveling Cement Keeps Failing — and How to Fix It for Good
You've spent hours prepping the subfloor, mixed the bag to perfection, and poured what looked like a flawless surface. But now, 48 hours later, you're staring at cracks, pinholes, or a surface that never fully hardened. You're not alone — this is one of the most common frustrations in the flooring industry. Whether you're a flooring contractor, civil engineer, or distributor, diagnosing self-leveling cement failures early saves time, money, and reputation.
Symptom Checklist
You might notice one or more of the following:
- Surface cracking — hairline or wider cracks appearing within 24–72 hours
- Pinholes or bubbles — tiny craters across the finished surface
- Delamination — the self-leveling underlayment peeling away from the subfloor
- Soft or chalky surface — the floor leveling compound never fully hardened
- Uneven thickness — the pumpable screed didn't flow as expected
- Slow drying — the rapid drying screed is still wet after 24 hours
- Bond failure — the floor leveller lifts off concrete or wood subfloors
Root Causes
Understanding why your self-leveling cement failed is the first step to a permanent fix. Here are the four most common causes:
1. Improper Subfloor Preparation
The self-leveling cement relies entirely on proper adhesion. If the subfloor is dusty, oily, or has remnants of old adhesive, the cementitious screed cannot bond. Even a thin layer of dust acts as a bond breaker, causing delamination or cracking under foot traffic.
2. Wrong Water-to-Powder Ratio
Self-leveling cement is sensitive to water. Too much water weakens the compressive strength, leading to a soft, chalky surface. Too little water prevents proper flow, leaving ridges and air pockets. Most failures come from guessing or using a "little extra" to improve flow.
3. Skipping the Primer
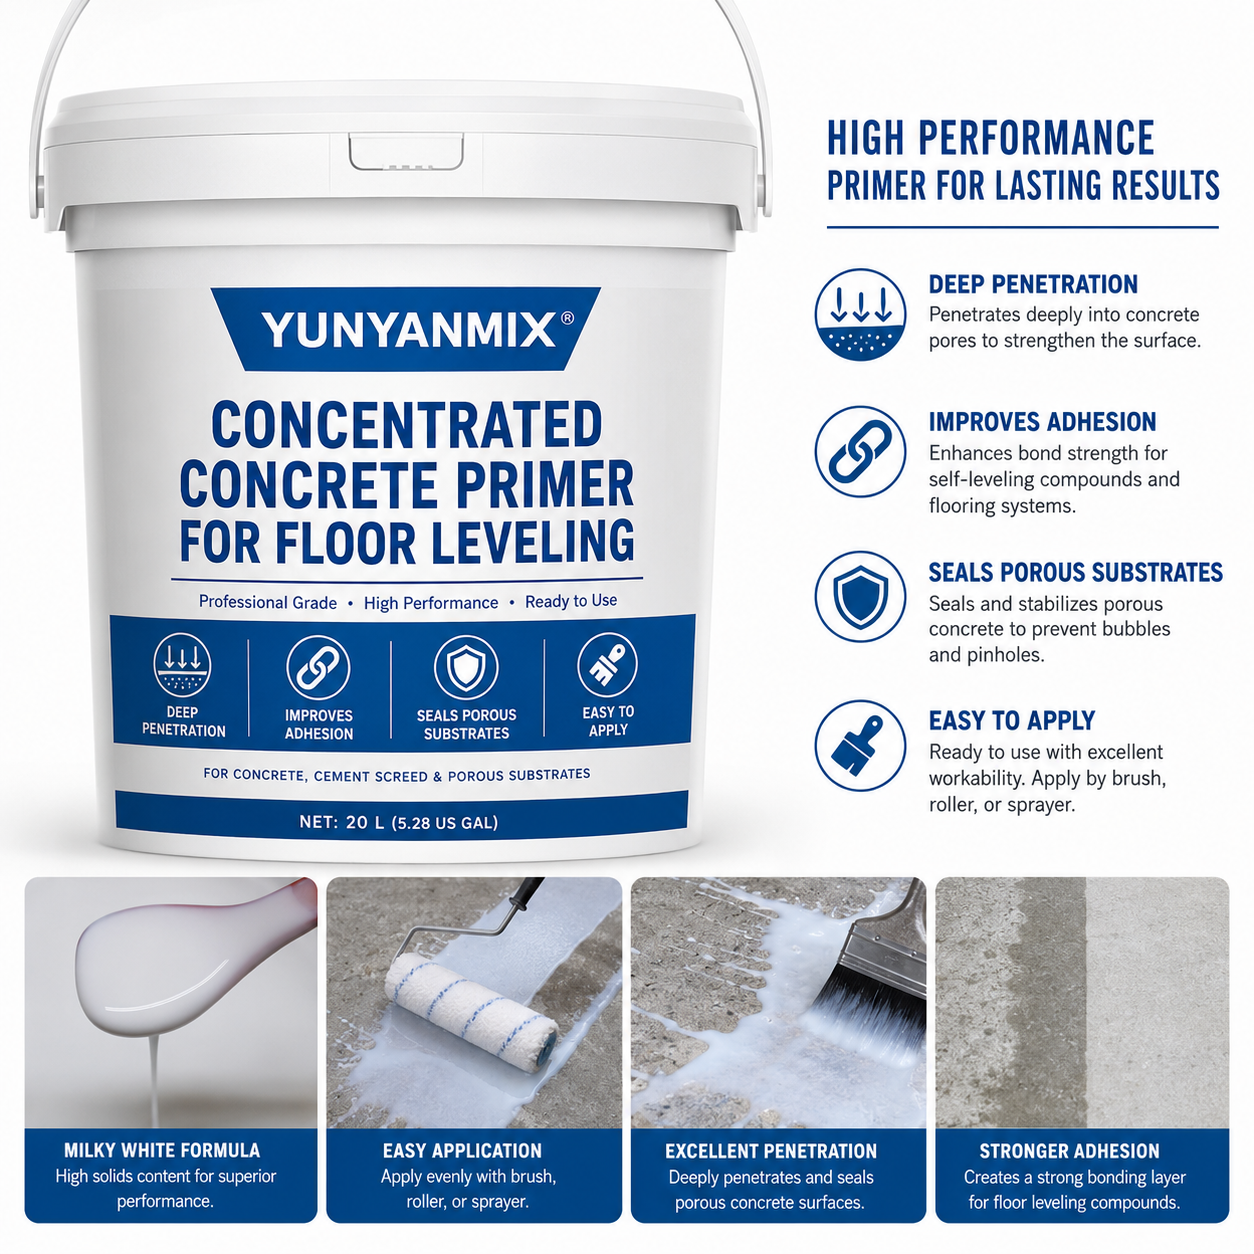
A high-quality self-leveling cement primer is non-negotiable. Primer seals porous substrates and creates a tacky surface for mechanical bonding. Without it, the floor leveling compound can dehydrate unevenly, causing pinholes and poor adhesion.
4. Incorrect Thickness Per Layer
Pouring self-leveling cement thicker than the manufacturer's recommended self-leveling cement thickness per layer (typically ¼" to ½") leads to excessive shrinkage and cracking. Thick pours also trap heat from hydration, causing thermal cracking.
Diagnosis
Here's how to confirm which cause applies:
- Cracking or delamination? Perform a simple "tape test." Press duct tape firmly onto the cured surface, then rip it off quickly. If pieces of the self-leveling underlayment come off with the tape, you have a bond failure — likely from no primer or dirty subfloor.
- Pinholes and bubbles? After pouring, watch for bubbles rising. If they persist, you likely skipped or improperly applied the self-leveling cement primer.
- Soft or chalky surface? Scratch the surface with a coin. If it powders easily, the water ratio was too high. Check the bag for the exact water measurement (usually 5–6 quarts per 50 lb bag for self-leveling concrete for garage floors).
- Uneven thickness? Use a depth gauge or straightedge. If thickness exceeds ½" in any area, you poured too thick. Self-leveling cement should be applied in multiple thin passes, not one thick pour.
Fix
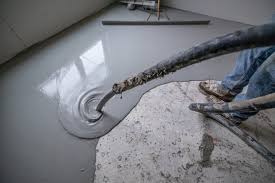
Here are specific repair steps for each cause. Use these exact measurements for reliable results.
Fix 1: Subfloor Preparation Failure
- Step 1: Grind or scarify the subfloor to remove all existing coatings, dust, and debris. Vacuum thoroughly.
- Step 2: Apply a coat of self-leveling cement primer at a rate of 200–300 sq ft per gallon. Allow to dry to a tacky state (typically 30–60 minutes).
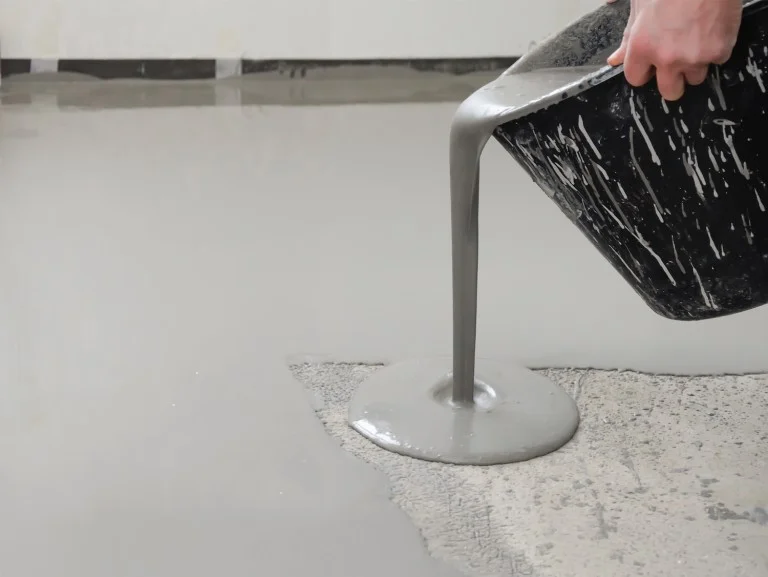
- Step 3: Remix fresh self-leveling cement at exactly 5.5 quarts of clean water per 50 lb bag. Pour and spread with a gauge rake at a thickness of ¼" per layer. Curing time: 24 hours before foot traffic, 72 hours before tile installation.
Fix 2: Wrong Water Ratio
- Step 1: Remove the failed floor leveller by grinding or chipping. Vacuum debris.
- Step 2: Reapply self-leveling cement primer (same rate as above).
- Step 3: Mix fresh cementitious screed using a drill and paddle. Add water slowly — 5 quarts per 50 lb bag for standard self-leveling cement for uneven floors. For self-leveling cement for radiant floor heating, use exactly 5 quarts to avoid excess moisture trapping under the heating system. Pour at ¼" thickness per layer. Curing time: 24 hours minimum.
Fix 3: Primer Skipped
- Step 1: Mechanically abrade the failed pumpable screed surface. Vacuum.
- Step 2: Apply two coats of self-leveling cement primer, allowing 30–45 minutes between coats.
- Step 3: Pour a fresh layer of rapid drying screed at ¼" thickness. For self-leveling cement over wood subfloor, use a latex-modified primer to prevent moisture wicking. Curing time: 4–6 hours for light traffic, 24 hours for tile.
Fix 4: Excessive Thickness
- Step 1: If the self-leveling cement has cracked from thickness, remove the entire pour. Do not patch over cracks.
- Step 2: Apply self-leveling cement primer (same as above).
- Step 3: Pour in layers no thicker than ½" each. Wait 4 hours between layers for self-leveling cement curing time. For total thickness over 1", use a coarse aggregate self-leveling concrete for garage floors mix. Curing time: 48 hours before heavy loads.
Prevention
Avoid these headaches in future projects with a few disciplined habits:
- Always prime — even on "clean" concrete. Use a high-quality self-leveling cement primer for every pour.
- Measure water precisely — use a graduated bucket, not a garden hose.
- Respect thickness limits — for self-leveling cement for outdoor use, limit to ¼" per layer and ensure proper drainage underneath.
- Use the right tools — invest in self-leveling cement application tools like gauge rakes, spiked rollers, and mixing paddles designed for self-leveling cement.
- Control environment — maintain 50–85°F substrate temperature and avoid drafts during curing.
For best results, consider YUNYAN's complete system: self-leveling cement, self-leveling cement primer, and compatible self-leveling underlayment products. Our formulations are engineered for consistent flow, rapid curing, and superior bond strength — whether you're working on self-leveling cement over wood subfloor, self-leveling cement for radiant floor heating, or self-leveling cement for tile installation.
Need Technical Support?
Every job site is different. If you're still troubleshooting or need custom mix recommendations for self-leveling concrete for garage floors, best self-leveling cement for uneven floors, or high-traffic commercial applications, our team is ready to help.
👉 Contact YUNYAN for technical consultation: yunyanchina.com/contact-us