
How to Apply Epoxy Floor Coating: A Step-by-Step Guide for Contractors and Project Managers
Background: Why Epoxy Floor Coating Matters for Industrial and Commercial Projects
Epoxy floor coating is one of the most durable, chemical-resistant, and low-maintenance flooring solutions available today. Whether you're specifying a garage floor epoxy for a residential client, installing warehouse flooring that needs to withstand heavy forklift traffic, or coating a commercial kitchen floor that must resist grease and cleaning chemicals, the epoxy flooring system delivers professional-grade performance. For contractors and project managers, understanding the full installation process—from surface preparation to the final epoxy top coat—means fewer callbacks, longer service life, and satisfied clients.
Preparation: Tools and Materials Checklist
Before you begin, gather everything you need. Proper preparation prevents rework and ensures the epoxy bonds correctly.
Tools Required
- Floor grinder or shot blaster (rental available)
- Industrial vacuum with HEPA filter
- Squeegee with rubber blade (600 mm wide)
- Notched trowel (for self-leveling epoxy applications)
- 9-inch roller frame with medium-nap roller covers (3-5 per job)
- Mixing paddles and heavy-duty drill (minimum 1,500 RPM)
- Paintbrushes (50 mm and 100 mm) for edges and corners
- Measuring buckets and graduated mixing containers
- Moisture meter (concrete moisture test)
- Temperature and humidity gauge
- Personal protective equipment: nitrile gloves, safety glasses, respirator with organic vapor cartridges, chemical-resistant boots
Materials Required (per 100 m² at 2 mm thickness)
- Epoxy floor coating primer: 10-12 kg
- Solvent-free epoxy base coat: 25-30 kg (depending on formulation)
- Self-leveling epoxy (if specified): 30-35 kg for 2 mm build
- Epoxy top coat: 8-10 kg (UV-stable for clear coats)
- Quartz sand or aggregate (if broadcast system is specified): 25-50 kg
- Mixing buckets (20-liter, 3-5 pieces)
- Painter's tape (50 mm wide)
- Plastic sheeting for masking walls and equipment
Step-by-Step Installation Instructions
Step 1: Surface Preparation — The Most Critical Phase
The success of any epoxy floor coating depends 80% on substrate preparation. Concrete must be clean, dry, and profiled correctly.
Sub-step 1.1: Test concrete moisture using a calcium chloride test (ASTM F1869). Acceptable moisture vapor emission rate is below 3 lbs per 1,000 sq ft per 24 hours. For higher readings, apply a moisture vapor barrier primer.
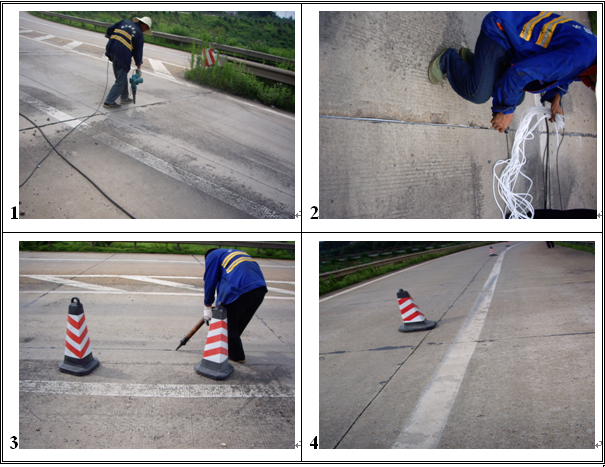
Sub-step 1.2: Mechanically profile the concrete using a floor grinder with diamond-impregnated metal bond segments (30-40 grit). You need a concrete surface profile (CSP) of 2-3 for thin-mil coatings or CSP 3-5 for self-leveling epoxy systems.
Sub-step 1.3: Vacuum thoroughly with an industrial HEPA vacuum. Follow with a damp mop using clean water. Allow 4-6 hours drying time. Test adhesion by applying tape to the surface and pulling—if any dust comes up, re-vacuum.
Sub-step 1.4: Repair cracks and spalls with a high-strength epoxy patching compound. For joints, route and fill with a semi-rigid epoxy joint filler. Allow minimum 24 hours cure.
Step 2: Prime the Concrete
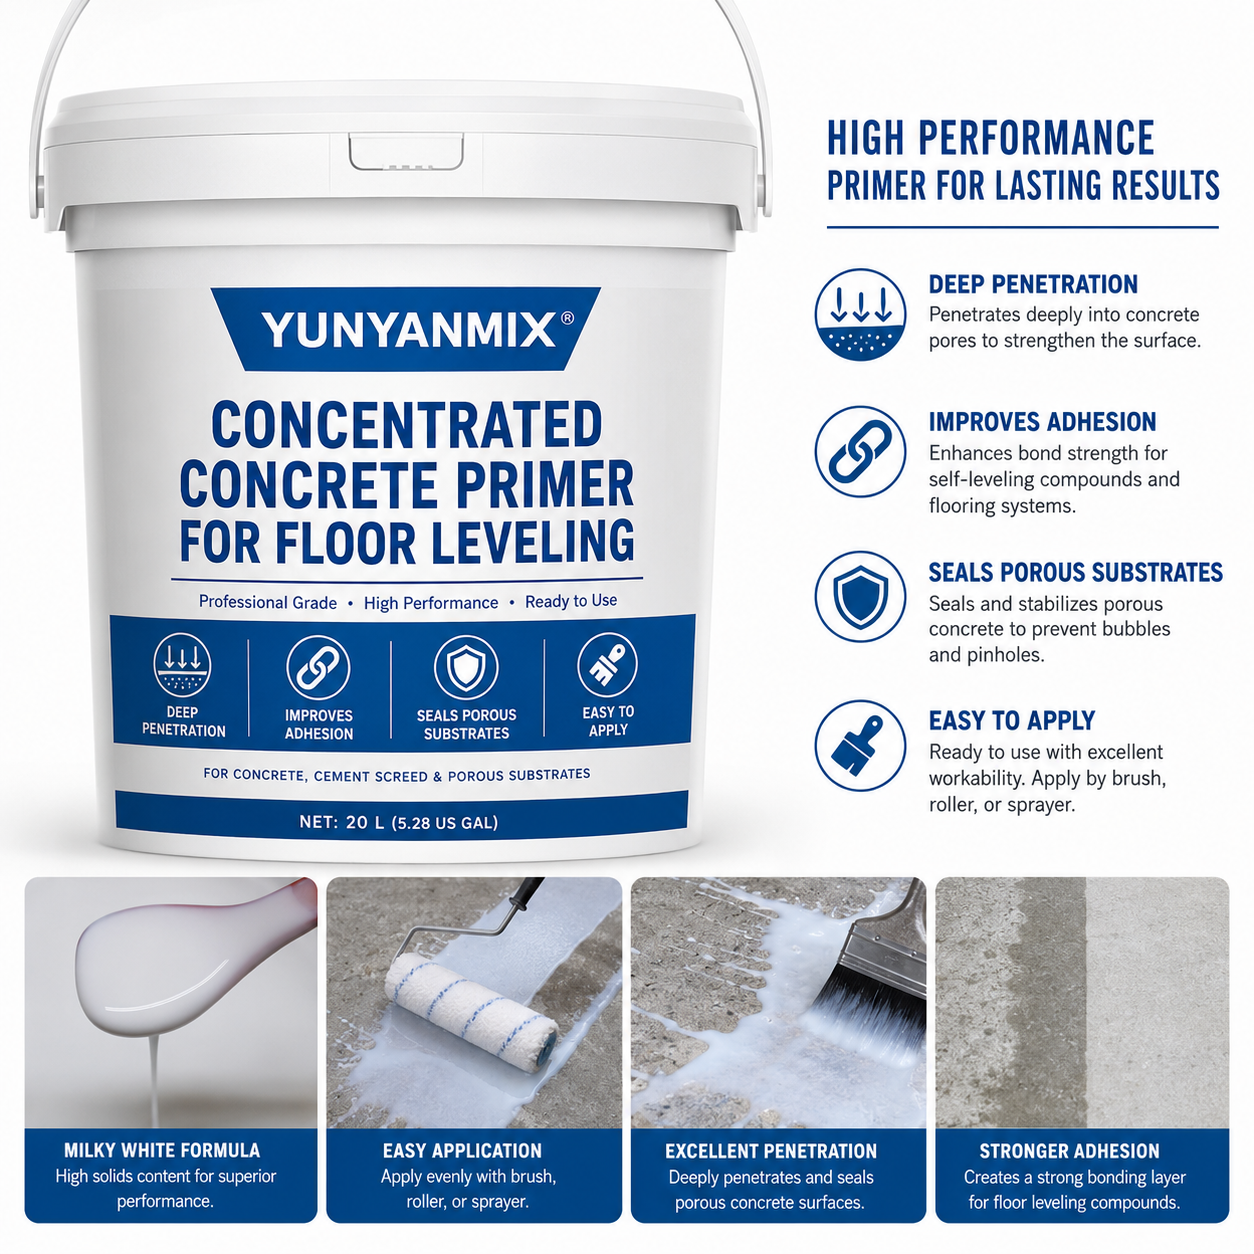
Priming seals the substrate, promotes adhesion, and prevents outgassing (bubbles from trapped air).
Sub-step 2.1: Mix the solvent-free epoxy primer according to manufacturer ratios (typically 2:1 resin to hardener by volume). Use a mixing paddle at 400-600 RPM for 3 minutes. Scrape sides and bottom, then mix another minute.
Sub-step 2.2: Apply with a squeegee at 3-4 m² per liter. Back-roll immediately with a medium-nap roller to ensure even penetration. Work in sections of 15-20 m².
Sub-step 2.3: For porous concrete, apply a second primer coat after the first becomes tacky (1-3 hours at 20°C). The surface should look uniformly glossy with no dry spots.
Sub-step 2.4: Allow primer to cure until tack-free but still sticky to the touch—typically 4-6 hours at 20°C. Do not allow the primer to fully cure (more than 12 hours) before applying the base coat, or you'll need to re-profile the surface.
Step 3: Mix and Apply the Epoxy Base Coat
This is where you build the thickness and functional properties of your epoxy flooring system.
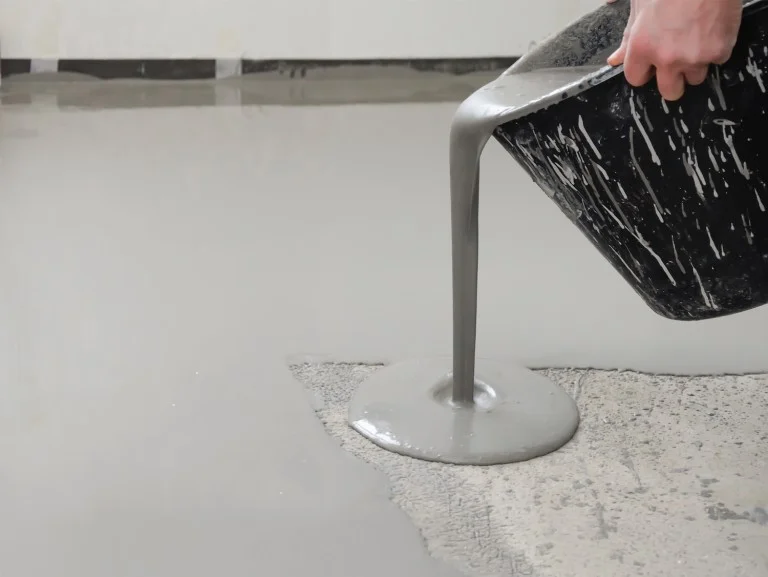
Sub-step 3.1: For self-leveling epoxy applications, combine Part A (resin) and Part B (hardener) at the specified ratio. Mix for 3-4 minutes at 600 RPM. Pour immediately onto the primed surface—you have approximately 20-25 minutes of working time at 20°C.
Sub-step 3.2: Spread with a notched trowel (6-8 mm notch) to control thickness. Then use a spiked roller (18-24 inch width) to release air bubbles. Roll in two perpendicular directions.
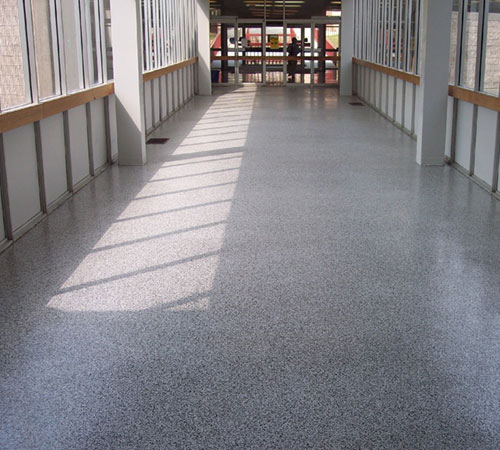
Sub-step 3.3: For broadcast systems (common in industrial floor coating applications), immediately broadcast quartz sand or aggregate into the wet epoxy. Apply at 70-100% coverage for light-duty or 100-150% for heavy-duty. Allow to cure 12-18 hours.
Sub-step 3.4: After cure, vacuum loose aggregate and apply a second epoxy top coat if needed for gloss and chemical resistance.
Step 4: Apply the Epoxy Top Coat
The epoxy top coat provides the final appearance, UV stability (if clear), and the primary chemical and abrasion resistance layer.
Sub-step 4.1: Lightly sand the base coat with 120-grit sandpaper to remove any nibs or dust. Vacuum and tack-cloth the surface.
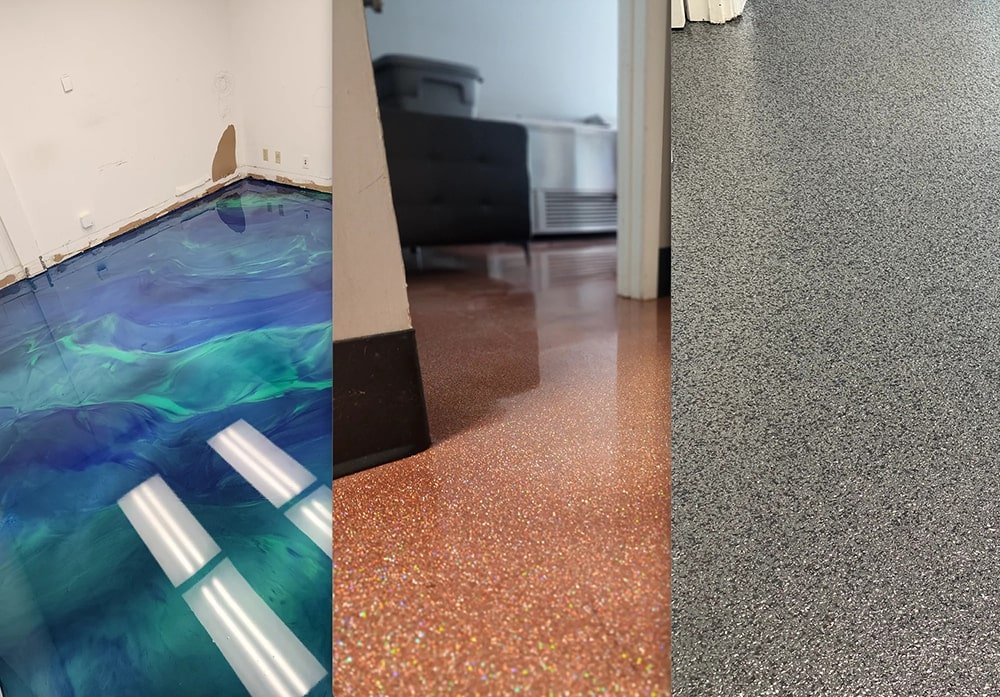
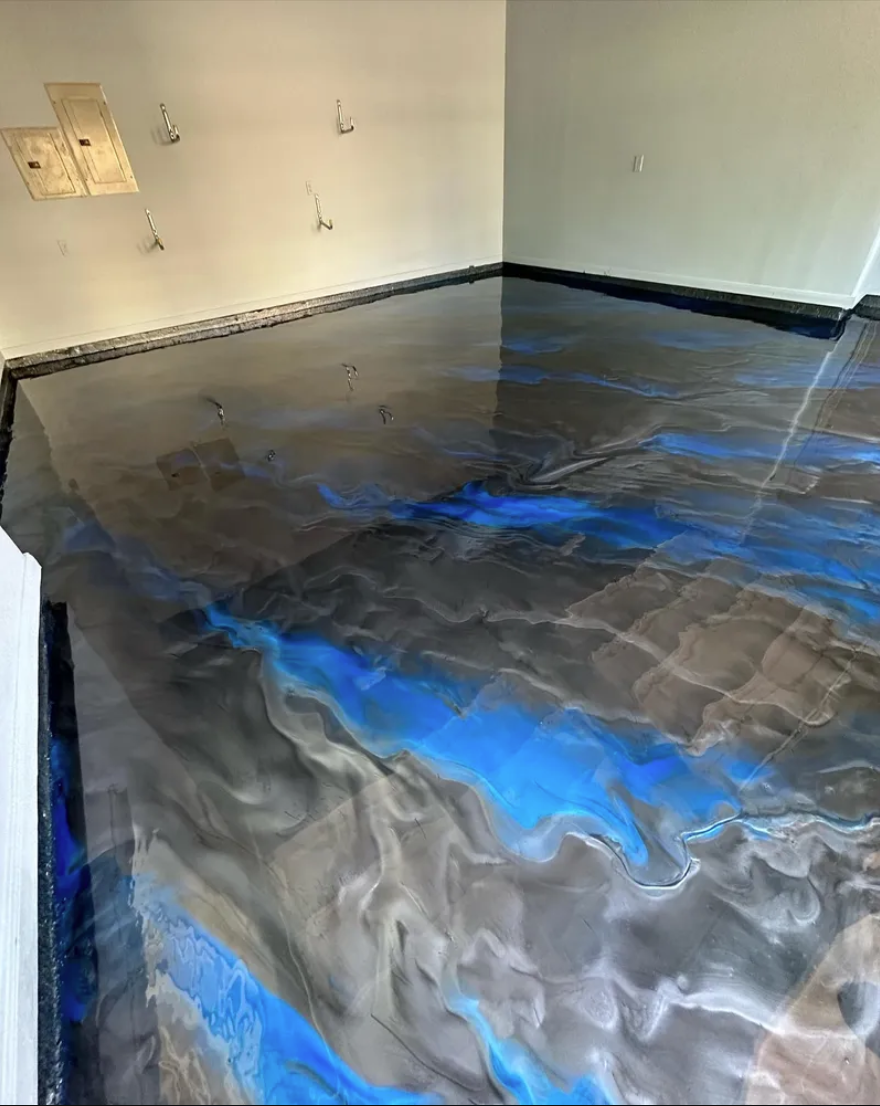
Sub-step 4.2: Mix the epoxy top coat (typically a 1:1 ratio for clear systems). Use a clean bucket and paddle. For metallic epoxy floor coating for showroom floors, add metallic pigments at 2-5% by weight and stir gently to avoid breaking the metallic particles.
Sub-step 4.3: Apply with a squeegee at 4-5 m² per liter, then back-roll with a fresh medium-nap roller. Maintain a wet edge—do not allow the coating to start setting while rolling adjacent sections.
Sub-step 4.4: Apply a second epoxy top coat after 12-16 hours for maximum durability. Lightly scuff the first coat with 220-grit before applying.
Step 5: Cure and Protect
Sub-step 5.1: Maintain temperature between 18-25°C and humidity below 75% during cure. Do not allow direct sunlight to hit the coating for the first 48 hours—it can cause uneven curing and blushing.
Sub-step 5.2: Light foot traffic is allowed after 24 hours. Vehicle traffic (for garage floor epoxy) after 48-72 hours. Full chemical resistance develops after 7 days.
Sub-step 5.3: Apply cardboard or plywood protection over high-traffic areas for the first week. Do not drag equipment across the surface.
Common Mistakes and How to Avoid Them
Mistake 1: Applying Epoxy Over Damp Concrete
The problem: Moisture vapor pressure pushes through the coating, causing blisters, delamination, and white haze (blushing). How to avoid: Always perform a moisture test. If readings exceed 3 lbs/1,000 sq ft/24 hr, use a moisture-tolerant primer or specify a solvent-free epoxy system designed for damp substrates. For basements or slabs on grade, this is non-negotiable.
Mistake 2: Skipping Mechanical Profiling
The problem: Without proper grinding, the epoxy floor coating sits on top of the concrete rather than bonding mechanically. Peeling occurs within weeks in high traffic areas. How to avoid: Never rely on acid etching alone. Use a floor grinder or shot blaster to achieve CSP 2-3 minimum. Test adhesion with a pull-off test (ASTM D4541) after the primer cures. Minimum acceptable bond strength is 1.5 MPa (220 psi).
Mistake 3: Incorrect Mixing Ratios or Technique
The problem: Off-ratio mixing leads to soft, sticky, or brittle coatings that fail under load. Inadequate mixing leaves unmixed resin or hardener streaks. How to avoid: Use graduated mixing containers. Mix for the full recommended time (typically 3 minutes at 600 RPM). Scrape the sides and bottom of the bucket at least twice during mixing. Never mix partial kits—always use the full supplied unit. For metallic epoxy floor coating for showroom floors, mix gently to avoid introducing air.
Product Recommendations from YUNYAN
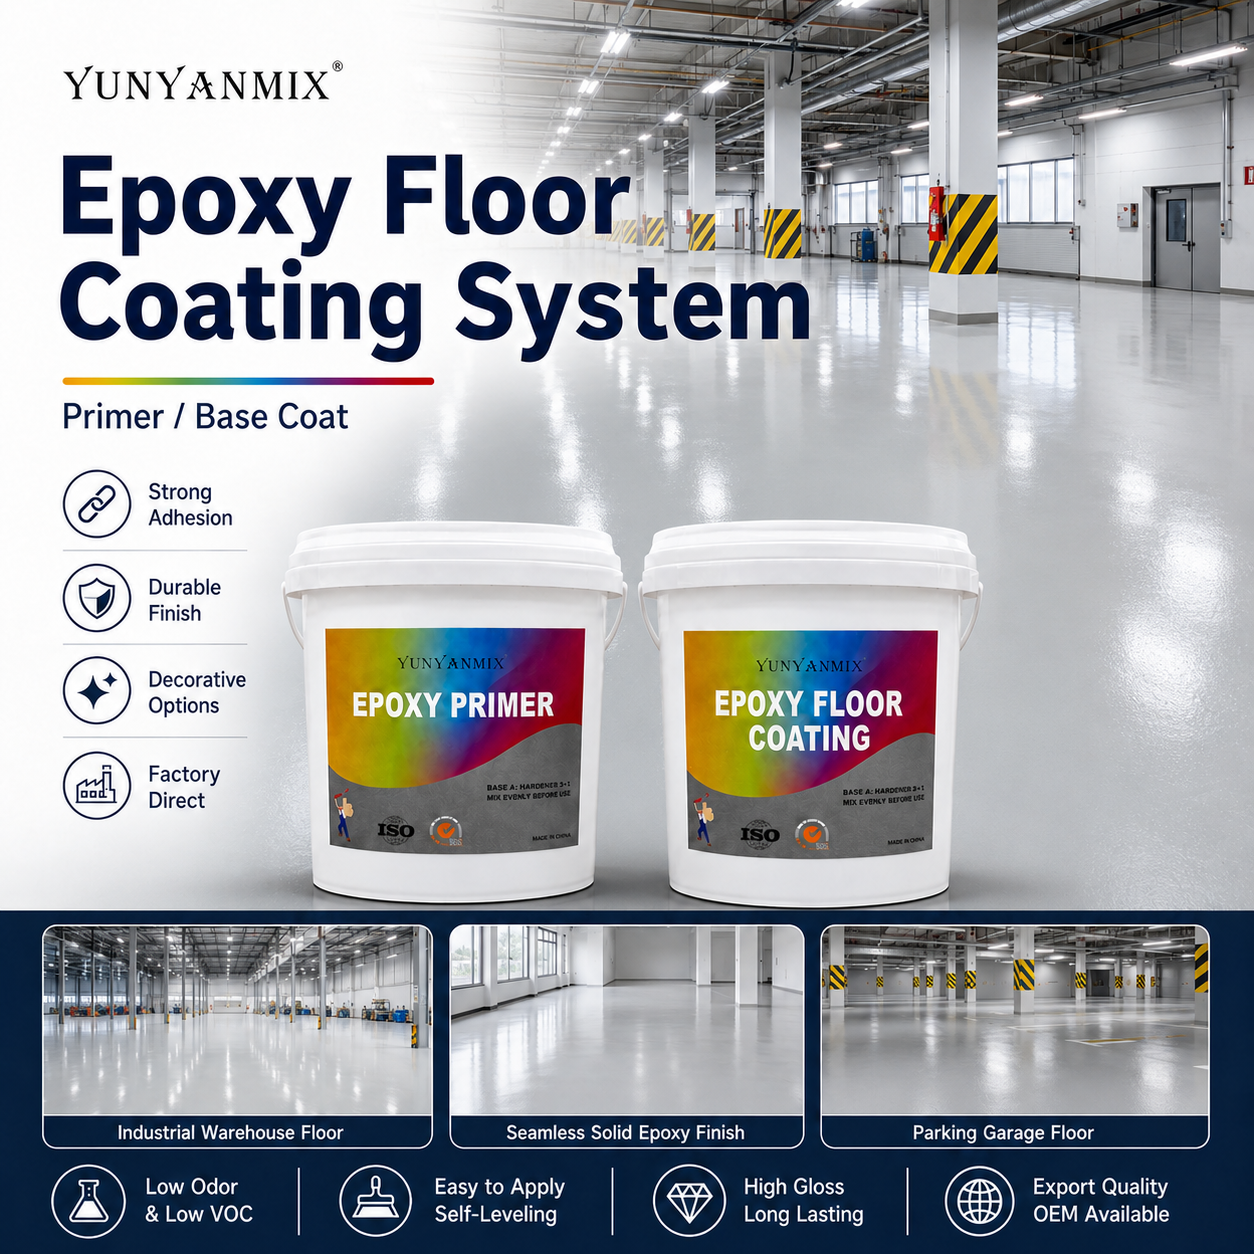
YUNYAN offers a complete line of floor decoration materials designed for professional contractors and distributors. The 3D Epoxy Resin for River Table and Floor Coating is a versatile solvent-free epoxy suitable for both decorative showroom floors and functional industrial floor coating applications. At USD 138, it provides excellent clarity for metallic epoxy floor coating for showroom floors and sufficient build for self-leveling epoxy systems.
Key advantages for contractors and project managers:
- Export-ready packaging: 20 kg kits, with OEM/private label options available for distributors
- Technical support: YUNYAN provides formulation guidance, installation instructions, and troubleshooting assistance for bulk orders
- Sample program: Request samples before committing to full quantities
- Custom formulation: For chemical resistant factory floors or low VOC epoxy floor coating for commercial kitchens, YUNYAN can adjust formulations to meet specific performance requirements
For where to buy bulk epoxy floor coating for distributors, YUNYAN supports container-load quantities with consistent batch-to-batch quality and competitive pricing.
Checklist for Contractors and Buyers
Before purchasing or installing an epoxy flooring system, verify these points:
- Concrete age: Minimum 28 days cure for new concrete
- Moisture test completed and within acceptable range
- Substrate temperature: 10°C minimum, 30°C maximum
- Ambient conditions: No rain forecast for 48 hours, temperature stable
- Surface profile: CSP 2-3 achieved via mechanical grinding
- Cracks and joints repaired and cured
- Primer selected based on porosity and moisture level
- Epoxy floor coating for warehouse durability: Verify abrasion resistance (ASTM D4060) meets your traffic class
- Epoxy floor coating vs polyaspartic comparison: Understand cure time and UV stability trade-offs
- Epoxy floor coating for industrial warehouse cost: Calculate total system cost including primer, base, top coat, and labor
- How to fix epoxy floor coating peeling: Ensure proper surface prep before any repair application
- Sustainable epoxy floor coating low maintenance: Confirm VOC content and expected service life
- Epoxy floor coating for repair and renovation projects: Test adhesion to existing coatings
Technical Support
For project-specific guidance, custom formulations, or bulk pricing on epoxy floor coating materials, contact the YUNYAN technical team. They can help with epoxy floor coating installation steps for contractors, advise on epoxy floor coating for concrete basement floors in challenging conditions, and provide data sheets for epoxy floor coating for chemical resistant factory floors.