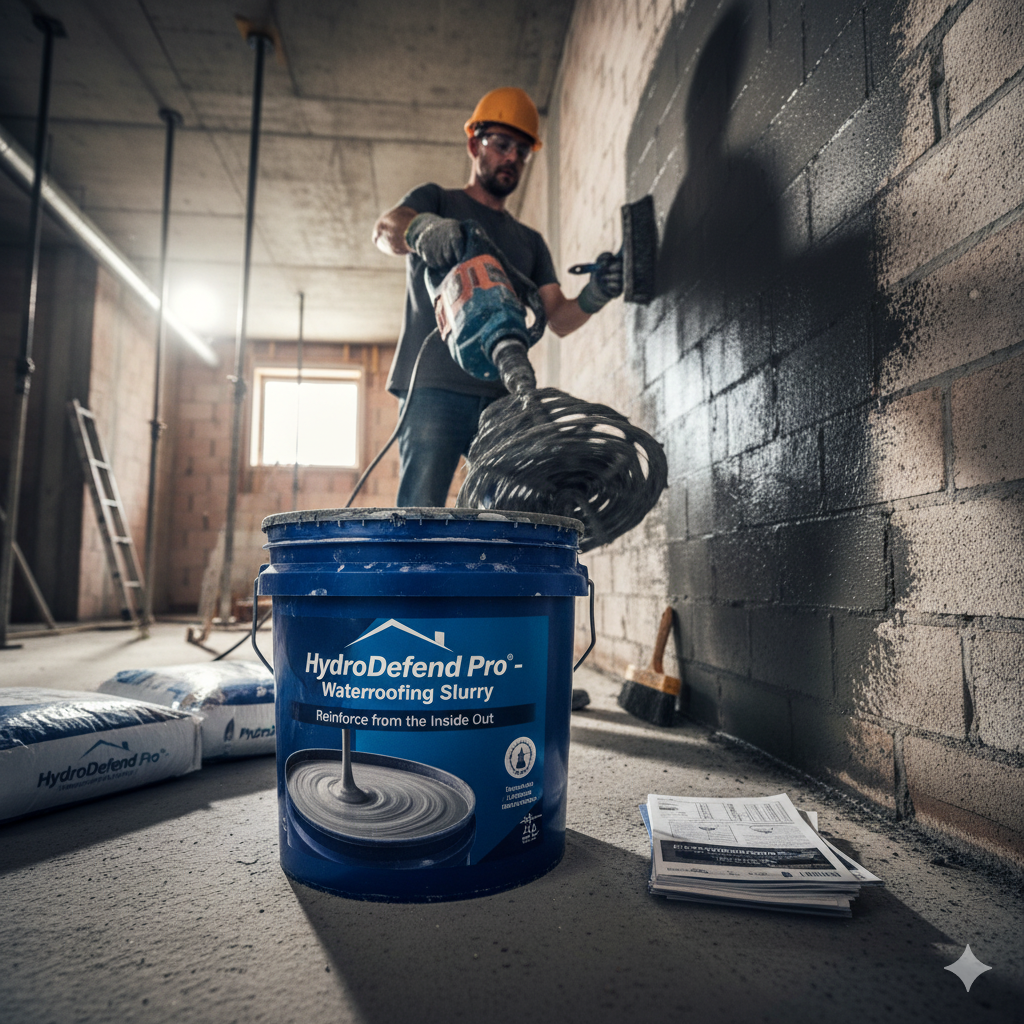
YUNYANMIX 3D Epoxy Resin For River Table is a kind of polymer mortar manufactured by YUNYAN company, YUNYANMIX is a well branded one of Top 10 for 3D Epoxy Resin For River Table and new building chemicals in China, for a best supplier and wholesaler of new building chemicals please go through: http://www.yunyanchina.com
High Gloss Clear Table Top Epoxy Coating
Commercial grade clear epoxy for table tops.Will not yellow,fade,or crack.Ultra clear table epoxy produces a crystal clear coating on all types of surfaces.The most advanced epoxy coating on the market.Ultra Clear epoxy boasts the most advanced level of shine,gloss,reflectivity,clarity and depth,and it locks in those optical qualities forever.
The most sophisticated system of synthetic polymeric-based protection available.Our Commercial-grade epoxy is engineered specifically for Bar Tops,Tabletops & Counter tops.
Ø Works on
Breathtaking beauty.Just as versatile.Make your surface to come to life with rich,vibrant detail-the most striking contrast ever.Engineered to work on virtually any surface: Wood,concrete,granite,copper,stainless steel,laminate,cork,formica,quartz,bamboo and ceramic tiles,marble,porcelain,metal.Our table top epoxy resin is the standard product to use for tables made of pennies,bottle caps,photos,stickers,paper,labels,shells,sand,rocks and concert tickets .
Ø Features
Unlike most epoxy resins,our unique blend of poly carbons produces a completely transparent finish that will never yellow,fade,or crack with time.It's a product you can trust!
Ø Extremely Durable & Self-Leveling
Ultra Clear table top epoxy self-levels to 1/8",creating a virtually indestructible surface.The result is a crystal clear,brilliant surface that accentuates the material below it. Truly beautiful to behold!
Ø Scratch Resilient & Maintenance Free
Ultra Clear table top epoxy is specially formulated to resist scratching and provide long lasting maintenance free protection for your surface.
Ø 100% VOC Free
Ultra Clear table top epoxy is free from volatile organic compounds and is compliant with all environmental requirements implemented by international organizations such as the Environmental Protection Agency and the World Health Organization.
Ø Easy Do It Yourself One-Coat System
Ultra Clear table top epoxy self levels at 1/8.That's twice as thick as other table epoxy on the market.Our one coat epoxy system will save you time and money.Our simple 3-step process (measure,mix,and pour) is easy enough for anyone to do and the end result will be spectaculer ! You don't have to be a professional to achieve a professional look.We provide easy to read instructions and videos that will show you exactly what to do.
Ø Application
For wood surfaces,we recommend applying a seal coat of epoxy(same material,just a smaller painted on coat) before pouring the self-level coat.The seal coat is brushed on in a thin layer and is used to seal any pores in the surface and prevent air bubbles from forming in the following flood coat.This stage is followed by the flood coat,which will flow and self level to 1/8".The flood coat should be poured approximately 4-6 hours after the seal coat.Do not exceed 6 hours.Flood coats are applied in 1/8" layers at a time,as many as desired can be applied,however one coat is average for restaurant tables,bar tops,and counter tops.Additional coats are used to cover any items,such as memorabilia where you need to build up the epoxy to cover them adequately.
Ø Additional Coats
Additional coats can usually be applied within 4 to 6 hours.If re-coated within this time period,no sanding is necessary between layers.If your previous layer has fully dried, light sanding with 220 or 320 grit sandpaper is recommended to achieve good bonding surface.After sanding,you should wipe down with a solvent,such as denatured alcohol, acetone,or lacquer thinner to remove any impurities from the surface.(do NOT use mineral spirits).
Ø Embedding Pictures
Objects,such as pictures,maps,etc.can be embedded in this product during the pouring process.Most photo quality paper does not require any special preparation;however, sometimes thin paper objects must first be sealed with Elmer's glue or a similar product to prevent the epoxy from fully penetrating the paper and causing it to become transparent.
Ø Embedding Solid Objects(pennies,rocks,corks,shells,bottle caps...)
Glue down items with Elmer's glue.All porous materials should first have a seal coat of epoxy applied.This will prevent air bubbles from occurring in subsequent flood coats.
|
Item(epoxy top coating) |
PART A |
PART B |
|
Appearance |
Clear Liquid |
|
|
Mix Ratio |
3:1(by weight) |
|
|
Density (kg/L) |
1.1-1.2kg |
|
|
Operatio Time |
30-60mins@25℃ |
|
|
Curing Time |
2hrs@25℃ |
|
|
Dry Completely |
24-48hrs@25℃ |
|
|
Solid Contents |
100% |
|
|
Viscosity m.Pas |
Part A: 10,000 Part B: 500 |
|
|
Mixed Viscosity |
700-1100 Cps |
|
|
82D |
||
|
Hardness(D) TYPE II |
85D |
|
|
Operation |
By rolling or self leveling |
|
|
Compressive Strength |
55 (Mpa) |
|
|
Wear Resistance |
28 (mg) |
|
|
Fineness |
40-80 (μm) |
|
|
Levelling Property |
8(Grade) |
|
|
Thickness range (at a time) |
Type I: Min. 30mm Max. 50mm Type II: Min. 0.6mm Max. 2mm |
|
|
Package |
24kg/kit,72kg/kit,80kg/kit,800kg/kit ,accept OEM&ODM |
|
|
Shelf Life |
12months |
|
Working Conditions
The working room temperature must be above 75 degrees,several hours prior to mixing the epoxy.We recommend that the product be brought inside and acclimated to room temperature,as it will be cold during winter shipping months.Use space heaters if necessary to ensure the temperature remains above 75 degrees in cold areas,such as garages and basements. It is extremely important that the temperature remain above 75 degrees for a full 72 hours,in order for the epoxy to cure.High or low humidity and higher temperatures (75-110 degrees) are perfectly fine for curing;the epoxy cures much faster with higher temperatures.
High Gloss Clear Table Top Epoxy Coating
For most applications,Clear Epoxy is applied in two stages,the Seal Coat stage and the Flood Coat stage.The seal coat is a small batch of epoxy that is brushed on in a thin layer to seal any pores in the surface and prevent air bubbles from forming in the following flood coat
Coverage Specifications
|
Item |
Thickness |
Coverage |
|
TYPE I/II (A+B) |
1/8″ |
1 gallon/16 sqf |
Notes: The above coverage is for your reference,you can adjust according to your own situation.
How to Apply Table Top Epoxy Coating?
No experience needed. Get a beautiful crystal-clear surface in just a few easy steps.
Step 1: Measure Epoxy
TYPE I Epoxy is a two-part,epoxy coating that is mixed at 3 to 1 ratio.Pour an equal amount of hardener and resin into a new container.It is important that you use a new container for each batch that you mix so that the next batch does not get contaminated from the remnants of curing epoxy in the previous container.
Step 2: Mix Epoxy
Mix thoroughly with our mixing drill bit to ensure that the batch is completely blended.
Step 3: Paint on a Seal Coat of Epoxy
On porous material such as wood,you will need to paint on a seal coat of the same epoxy first to seal any pores in the surface.This prevents air bubbles from forming in the following flood coat.Not all surfaces require a seal coat.If you are unsure if your project will need a seal coat as you will need to figure the seal coat into your epoxy order to make sure you have enough product.
Step 4: Pour Epoxy Flood Coat
Pour the epoxy onto the surface working your way down the length of the area.The epoxy self levels so there is no need to move it around with any tools.The epoxy coat can be allowed to flow over the sides which will create a coating on the vertical edges.The epoxy that drips over will form bumps about 1/2 inch underneath the lip of the edge. These drips can be sanded off once the epoxy has cured.Coat every 4 hours.
Step 5: Pop Air Bubbles with a Plumber's Torch or Heat Gun
Once you finish pouring the epoxy,you will need to pop air bubbles using a plumber's torch or a heat gun (not a hair dryer).This process is the easiest step as it only takes about 30 seconds to 1 minute to do. Keep the torch or heat gun a few inches from the surface and simply wave it back and forth until you cover the entire distance of the surface. The heat pops any bubbles instantly.
Finished Project
The epoxy is dry to the touch in 12 hours. Allow 72 hours before using the surface. That's it!
Using Notes
TYPE II seal coat is necessary for porous surfaces such as wood,concrete,cork,granite,tile,bottle caps,pennies,and glass.Surfaces such as copper,stainless steel,laminate, or formica do not require a seal coat.
Exterior Applications
Please note that although this product will resist yellowing better than other epoxies, it is NOT 100% UV resistant. Continuous outdoor UV exposure over months or years will cause the finish to lose its gloss and cause gradual changes in color.