
How to Achieve a Flawless Wall Putty Finish: A Step-by-Step Guide for Contractors and Painters
Background — What We're Doing and Why
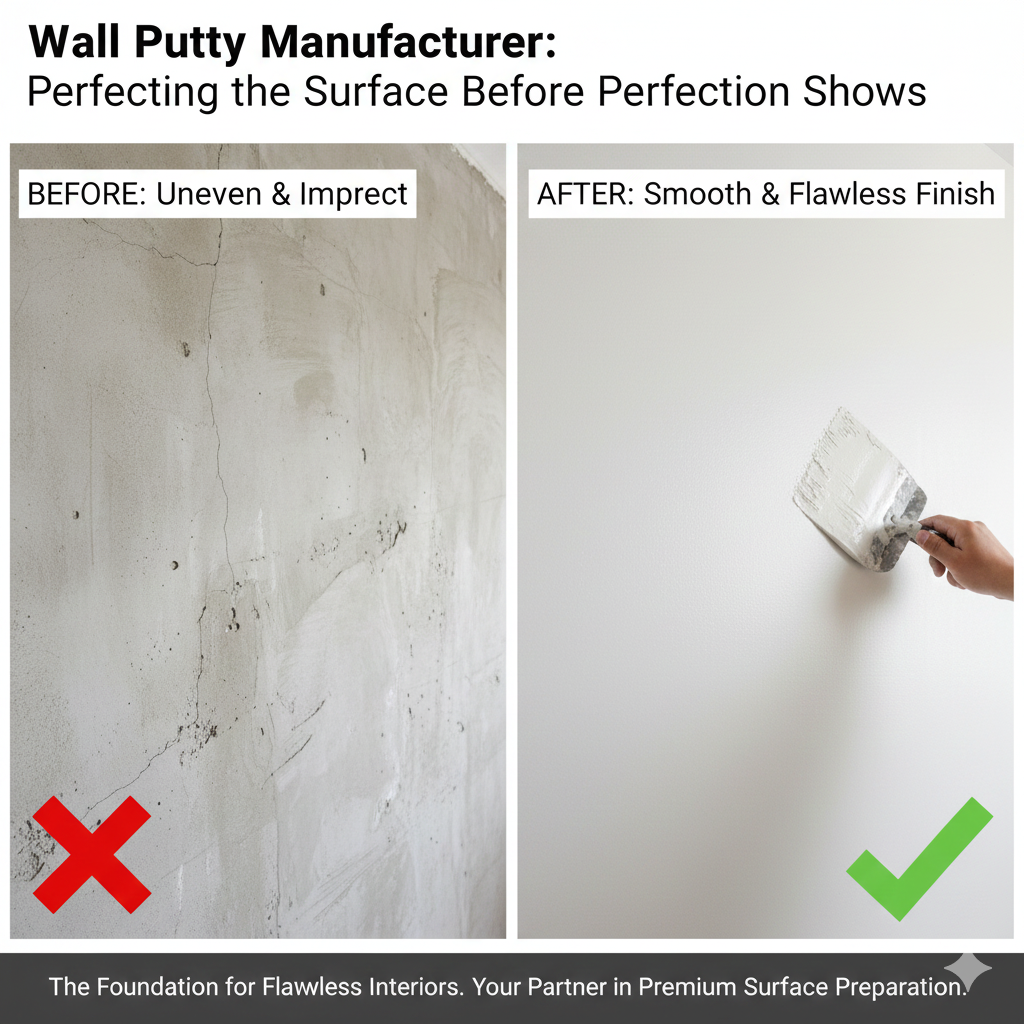
Every contractor knows the frustration: you finish painting a wall, only to see uneven patches, visible trowel marks, or hairline cracks appearing within weeks. The culprit is almost always poor wall putty application. Whether you're working on new construction, renovation, or export projects, understanding how to apply wall putty correctly separates professional-grade finishes from callbacks.
Wall putty serves as the critical intermediate layer between rough plaster and final paint. It fills minor imperfections, creates a uniform surface, and improves paint adhesion. The choice between gypsum putty for interior walls, cement-based putty for exterior applications, or flexible putty for crack-prone areas depends on your specific project conditions. This guide covers the entire process—from surface preparation to final drying—so you can deliver smooth, durable walls every time.
Preparation — Tools + Materials Checklist
Before starting, gather everything you need. Proper preparation prevents mid-job delays and ensures consistent results.
Tools
- 12" or 16" hand trowel (YUNYAN ergonomic design recommended for precision control)
- Mixing paddle and drill (for powder wall putty)
- Clean mixing bucket (20L minimum)
- Stainless steel trowel for finishing
- Sanding block or pole sander (120-180 grit paper)
- Wide putty knife (4-6 inch for corners)
- Spirit level and straightedge
- Spray bottle with water (for keeping putty workable)
- Dust mask and safety glasses
- Drop cloths for floor protection
Materials
- Wall putty (choose based on application):
- For interior: interior wall putty or ready mixed wall putty
- For exterior: exterior wall putty for cement plaster or water-resistant putty
- For crack-prone areas: flexible putty or wall putty for hairline crack repair
- For green building projects: low VOC wall putty
- Primer (compatible with your putty type)
- Clean water (for powder wall putty mixing ratio)
- Joint compound (if patching large holes before putty)
Quantities Reference
- One 20kg bag of powder wall putty covers approximately 8-10m² at 1mm thickness
- Ready mixed wall putty covers slightly less due to higher moisture content
- Always order 10-15% extra for waste, touch-ups, and thicker coats on uneven surfaces
Step-by-Step Instructions
Step 1: Surface Preparation — The Foundation of Success
Sub-step 1.1: Inspect and assess the substrate Check if you're working on cement plaster, gypsum board, or old painted walls. Each requires different preparation:
- New cement plaster — Cure for minimum 14 days before applying putty
- Old painted walls — Test adhesion with tape; if paint peels, remove it completely
- Gypsum board — Apply primer first; gypsum putty works best here
Sub-step 1.2: Clean and repair
- Remove dust, grease, and loose particles with a stiff brush or vacuum
- Fill cracks wider than 2mm with wall putty for hairline crack repair or joint compound
- For hairline cracks (under 0.5mm), a single coat of flexible putty will bridge them
- Apply primer to all surfaces — this prevents the substrate from sucking moisture out of the putty too quickly
Sub-step 1.3: Check moisture levels Use a moisture meter. Maximum 10% moisture for cement-based putty, 12% for gypsum putty. Higher moisture causes blistering and poor adhesion.
Step 2: Mixing Wall Putty — Get the Ratio Right
Sub-step 2.1: For powder wall putty The standard powder wall putty mixing ratio is:
- 25kg powder : 6-7 liters clean water (adjust based on manufacturer specs)
- Pour water into bucket first, then add powder gradually while mixing
- Mix for 3-4 minutes at low speed (400-600 RPM) until lump-free
- Let it rest for 5 minutes (called "slaking"), then mix again for 1 minute
- Final consistency should be like thick yogurt — holds shape but spreads easily
Sub-step 2.2: For ready mixed wall putty
- Open container and stir thoroughly — separation occurs during storage
- If too thick, add water in 2% increments (max 5% total)
- Do not over-thin; it reduces coverage and strength
Sub-step 2.3: Working time awareness
- Powder wall putty: 45-60 minutes working time in 25°C conditions
- Ready mixed wall putty: 2-3 hours (check manufacturer label)
- Hot weather shortens working time — mix smaller batches
Step 3: Applying Wall Putty — Technique Matters
Sub-step 3.1: First coat — filling and leveling
- Use a 16" hand trowel for large areas; switch to 12" for precision work
- Apply at 1-1.5mm thickness per coat — never exceed 2mm
- Hold trowel at 30-45° angle, apply firm pressure
- Work in overlapping strokes, keeping a wet edge to avoid lap marks
- For exterior wall putty for cement plaster, apply slightly thicker (1.5-2mm) to resist weather
Sub-step 3.2: Second coat — smoothing and finishing
- Wait for first coat to dry: gypsum putty 2-4 hours, cement-based putty 4-6 hours
- Lightly sand any ridges or trowel marks with 120-grit paper
- Apply second coat at 0.5-1mm thickness
- Use a clean trowel with light pressure for final passes
- For skim coat over rough surfaces, a third thin coat may be needed
Sub-step 3.3: Drying and curing
- Wall putty drying time before painting varies by type:
- Gypsum putty: 6-12 hours per coat (24 hours before painting)
- Cement-based putty: 12-24 hours per coat (48 hours before painting)
- Flexible putty: 24 hours minimum
- Maintain good ventilation but avoid direct fans or heaters — they cause surface crusting
- In humid conditions, allow 50% more drying time
Step 4: Final Preparation for Painting
Sub-step 4.1: Sanding
- Use 150-180 grit paper for final sanding
- Sand in circular motions with light pressure
- Check surface with a straightedge and strong sidelight
- Vacuum all dust thoroughly
Sub-step 4.2: Primer application
- Apply one coat of high-quality primer compatible with your putty type
- For water-resistant putty in bathrooms, use a moisture-resistant primer
- Allow primer to dry fully (4-6 hours) before painting
Step 5: Quality Check
Sub-step 5.1: Visual inspection
- Look for trowel marks, bubbles, or pinholes under strong light
- Check corners and edges for crisp lines
- Run hand over surface — it should feel smooth, not gritty
Sub-step 5.2: Adhesion test
- Apply masking tape to a small area, press firmly, pull at 90°
- If putty comes off, the surface wasn't properly primed or the putty is incompatible
Common Mistakes — 3 Frequent Errors and How to Avoid Them
Mistake 1: Applying Too Thick in One Coat
The problem: Putty shrinks as it dries. A 3mm coat will crack from internal stress. It also takes days to dry fully, delaying your schedule. The fix: Never exceed 2mm per coat. For deep repairs, apply multiple thin coats with proper drying between each. This is non-negotiable for professional wall putty application for smooth finish.
Mistake 2: Skipping Primer on Porous Surfaces
The problem: Porous substrates like new cement plaster or gypsum board suck moisture from the putty, causing it to dry too fast. Results: poor adhesion, blistering, and powdering. The fix: Always prime absorbent surfaces. For exterior wall putty for cement plaster, use a bonding agent or diluted PVA primer first. This is one of the most critical wall putty surface preparation steps.
Mistake 3: Using the Wrong Putty for the Job
The problem: Applying interior wall putty on exterior walls leads to water damage. Using gypsum putty in bathrooms causes mold. Using rigid putty on flexible substrates causes cracking. The fix: Match putty to application:
- Interior dry areas → gypsum putty or interior wall putty
- Bathrooms/kitchens → water-resistant putty
- Exterior walls → cement-based putty or exterior wall putty for cement plaster
- Areas with movement (new construction, timber frames) → flexible putty
- Renovation with dust concerns → low dust wall putty for renovation
Practical Buyer/Contractor Checklist
Before sourcing wall putty for your next project, run through this checklist:
- Substrate type: Cement plaster, gypsum board, old paint, or brick?
- Location: Interior or exterior? Dry or wet area?
- Climate: High humidity, temperature extremes, or freeze-thaw cycles?
- Project scale: Small renovation or large export order?
- Coating system: Will you use latex, oil-based, or elastomeric paint?
- Schedule: How much wall putty drying time before painting is available?
- Certification needs: Low VOC for green building? Fire rating required?
- Budget: Premium ready mixed wall putty vs. economical powder wall putty?
- Skill level: Your crew's experience with different putty types
- Tools available: Do you have the best trowel for skim coat work?
For export and OEM buyers, add:
- Packaging requirements: Bags, pails, or bulk?
- Labeling: Private label or OEM branding?
- Certification: CE, ASTM, ISO, or regional standards?
- Lead time: Production and shipping schedule
Product Recommendations
For contractors seeking reliable wall putty tools, YUNYAN's 12" and 16" hand trowels are engineered for precision skim coat work. The ergonomic design reduces wrist fatigue during long application sessions, and the stainless steel blade provides consistent flex for smooth finishes. For OEM wall putty suppliers for export, YUNYAN offers customizable packaging and formulation support across gypsum putty, cement-based putty, and water-resistant putty options to meet regional standards and project specifications.
Technical Support
Need help selecting the right wall putty formulation for your climate, substrate, or export requirements? Contact YUNYAN's technical team for project-specific consultation, sample requests, and OEM/private label solutions.
Get in touch: https://www.yunyanchina.com/contact-us