
How to Apply Acrylic Textured Paint for Exterior Walls: A Step-by-Step Guide for Contractors
Background
You've landed a facade job where the client wants something that looks like real stucco but won't crack in three years. Or maybe you're an interior designer specifying a feature wall finish that needs to hide minor drywall imperfections while passing a VOC emissions test. Either way, acrylic textured paint is the answer.
Unlike traditional stucco—which requires mixing cement, sand, and lime on-site, then fighting cure times and shrinkage cracks—acrylic textured paint comes ready to use. It's a textured wall coating that bonds directly to concrete, masonry, drywall, or cement board. It flexes with temperature changes, resists moisture, and can be applied by trowel, spray, or roller depending on the look you need.
This guide covers how to apply acrylic textured paint for exterior walls in a commercial-grade installation that will last 10+ years. We'll also cover interior applications and the differences between acrylic textured paint vs stucco so you can spec it correctly.
Preparation
Tools Required
- Heavy-duty drill with paddle mixer
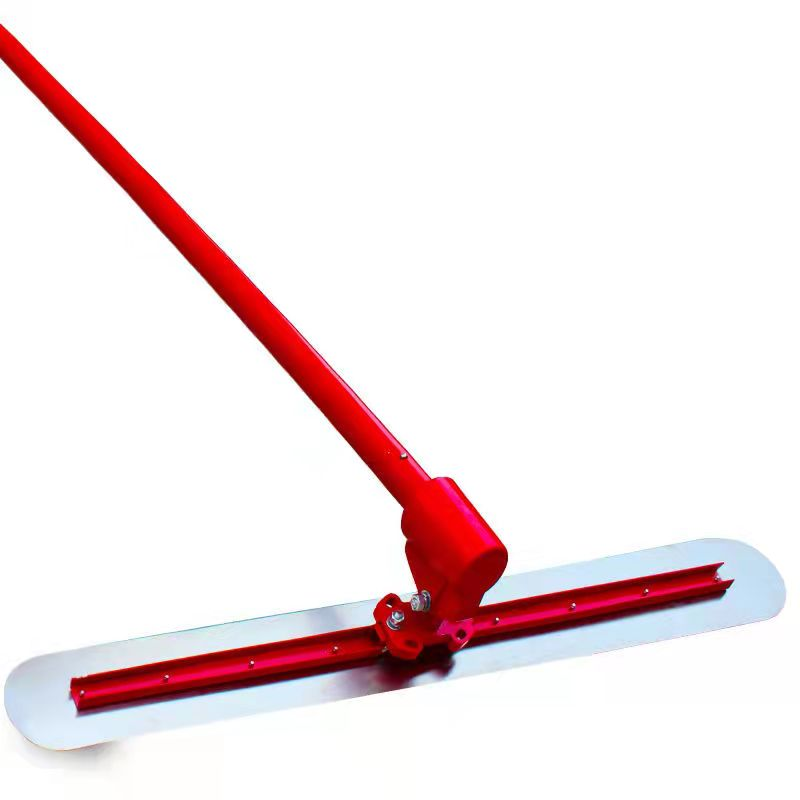
- Stainless steel trowels (10" and 14")
- Texture spray hopper or roller with 3/4" nap (depending on finish)
- Painters tape and drop cloths
- Pressure washer or stiff wire brush
- Caulking gun and masonry caulk
- Mixing buckets (5-gallon)
- Thickness gauge (optional but recommended for spec work)
Materials Required
| Item | Quantity |
|---|---|
| Acrylic textured paint | 1 gallon covers ~40-50 sq ft at 1mm thickness |
| Primer (exterior-grade acrylic) | 1 gallon covers ~300-400 sq ft |
| Concrete patch or filler | As needed for cracks > 3mm |
| Clean water | For thinning (check manufacturer spec) |
Surface Preparation Checklist (Critical)
- Surface is clean—no dirt, oil, loose paint, or efflorescence
- Cracks > 3mm are filled and cured minimum 24 hours
- All old paint is sound—no peeling or chalking
- Surface temperature is between 50°F and 90°F
- No rain forecast for 24 hours (for exterior work)
- All adjacent surfaces (windows, doors, trim) are masked
Step-by-Step Instructions
Step 1: Surface Preparation and Priming
Sub-step 1.1: Clean the substrate. For concrete or masonry, pressure wash at 3,000 PSI. For interior drywall, vacuum and wipe with a damp cloth. Let dry completely—minimum 4 hours for concrete, 2 hours for drywall.
Sub-step 1.2: Apply a coat of exterior-grade acrylic primer. This is non-negotiable for acrylic textured paint for exterior walls. Primer seals porous concrete, improves adhesion, and prevents the texture from drying unevenly. Use a roller for flat areas, brush for edges. Let dry per manufacturer instructions (typically 2-4 hours).
Why this matters: If you skip priming on concrete, the acrylic stucco finish will flash—some areas will look glossy while others look matte. You'll end up with a patchy decorative wall finish that requires a second coat to fix.
Step 2: Mix the Acrylic Textured Paint Properly
Sub-step 2.1: Open the pail and stir thoroughly with a paddle mixer. Acrylic textured paint often settles—the heavier sand particles sink during storage. Mix at 400-600 RPM for 2-3 minutes until uniform.
Sub-step 2.2: If you need a finer sand textured paint finish, you can add up to 5% clean water. Never exceed this—too much water weakens the binder and causes cracking. For a heavy trowel-on texture, use the material as-is.
Sub-step 2.3: Let the mixed material rest for 5 minutes. This allows air bubbles to escape and the sand to fully wet out.
Step 3: Apply the Texture Coat
Method A—Trowel-On Texture (for exteriors and feature walls):
- Load a 14" trowel with a thin, even coat of textured wall coating
- Apply at a 45-degree angle, holding consistent pressure
- Work in sections of 4-6 sq ft
- For a sand swirl finish, make overlapping arcs with the trowel edge
- For a knockdown finish, wait 5-10 minutes until the material starts to tack, then lightly flatten peaks with a clean trowel
Method B—Spray Application (for large facades):
- Use a hopper gun with a 1/4" or 3/8" tip
- Hold 12-18 inches from the surface
- Spray in overlapping passes, keeping the gun moving
- Back-roll with a 3/4" nap roller within 10 minutes to level and compact
Method C—Roller Application (for interiors and small areas):
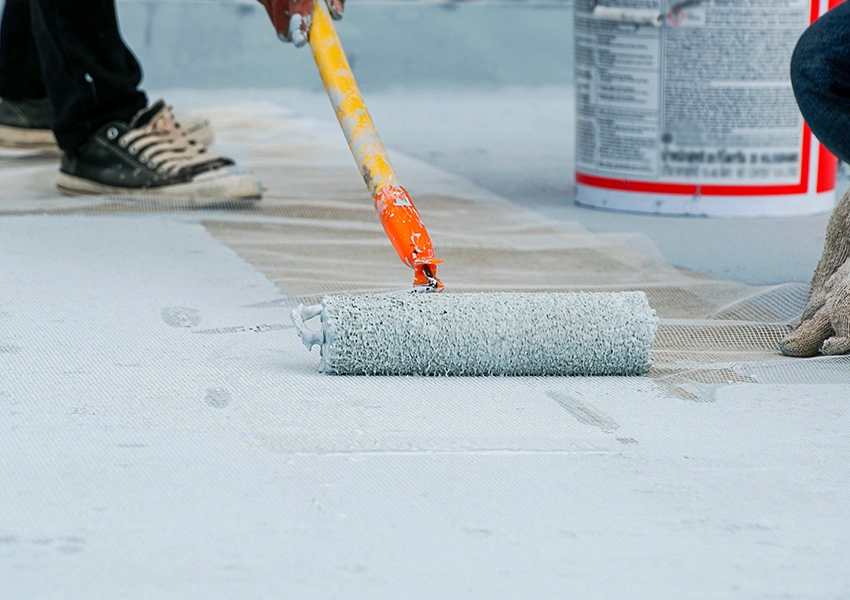
- Use a 3/4" nap roller designed for heavy-bodied paints
- Apply in a "W" pattern, then fill in
- Don't over-roll—stop after 2-3 passes or you'll flatten the texture
Step 3 key tip for commercial acrylic wall coating for high traffic areas: Apply a minimum of 2mm wet film thickness. Use a thickness gauge to verify. Thin applications in hallways will show wear in 2-3 years instead of 8-10.
Step 4: Texture Shaping and Finishing
Sub-step 4.1: Within 15 minutes of application, shape the texture to your desired finish:
- Fine sand: Leave as-applied with roller or spray
- Medium stucco: Lightly trowel in one direction
- Heavy rustic: Stipple with a texture brush or sponge
- Smooth stone: Trowel flat, then stipple with a damp sponge
Sub-step 4.2: Clean your tools immediately with water. Dried acrylic textured paint is permanent once cured.
Step 5: Curing and Protection
Sub-step 5.1: Allow the acrylic textured paint to cure for 24-48 hours depending on temperature and humidity. At 70°F and 50% humidity, the finish is touch-dry in 4 hours and walkable in 8 hours.
Sub-step 5.2: For exterior applications, apply a clear sealer if specified. This isn't always necessary—weather resistant textured paint for facades typically has enough UV and moisture resistance on its own—but in areas with heavy rain or salt spray, a sealer adds 3-5 years of life.
Sub-step 5.3: Inspect for thin spots, holidays, or uneven texture. Apply a second coat only if needed—most acrylic textured paint systems are designed for single-coat coverage at the correct thickness.
Common Mistakes
Mistake 1: Applying Over Dirty or Chalking Surfaces
The #1 cause of delamination. If you press a piece of tape onto the wall and it comes back dirty, the surface isn't ready. Pressure wash or scrub until water sheets off clean.
Fix: Always do the tape test before priming. It takes 30 seconds and prevents a call-back 6 months later.
Mistake 2: Over-Thinning the Material
Contractors add water to make application easier—then wonder why the decorative wall finish cracks. Acrylic textured paint relies on its binder content to hold the sand particles together. Over-thinning reduces adhesion by up to 40%.
Fix: Use a flow additive designed for textured paints, not water. If you must thin, never exceed 5%.
Mistake 3: Rushing the Texture Pattern
You apply a trowel-on texture and then immediately try to re-trowel it flat. The material lifts, leaves holidays, and you get a patchy finish.
Fix: Let the material set for 5-10 minutes before shaping. Test a small area first—when the surface feels tacky but not wet, it's ready to tool.
Product Recommendations
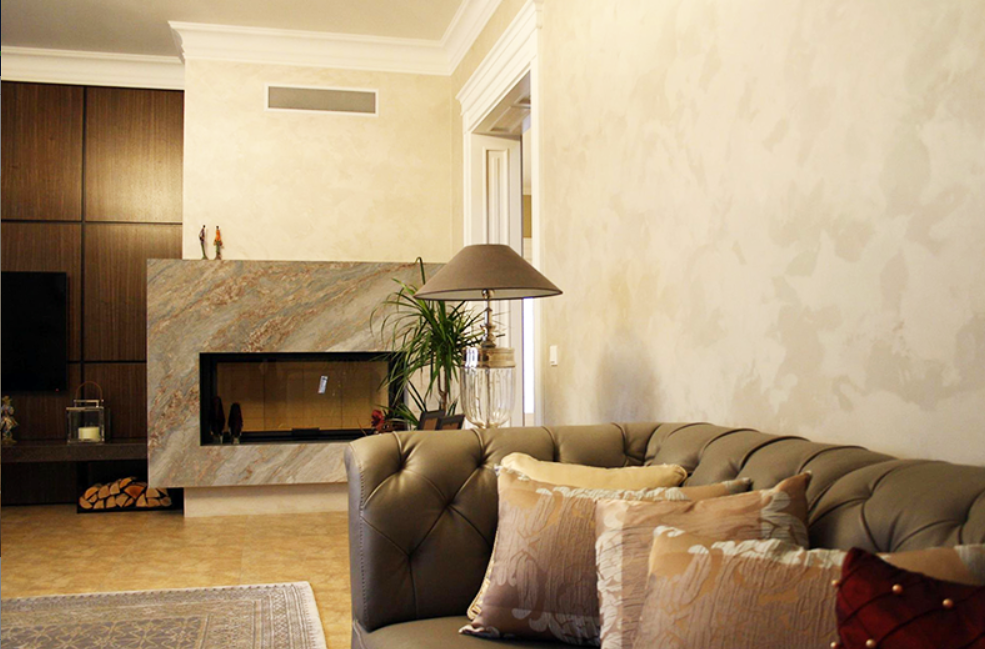
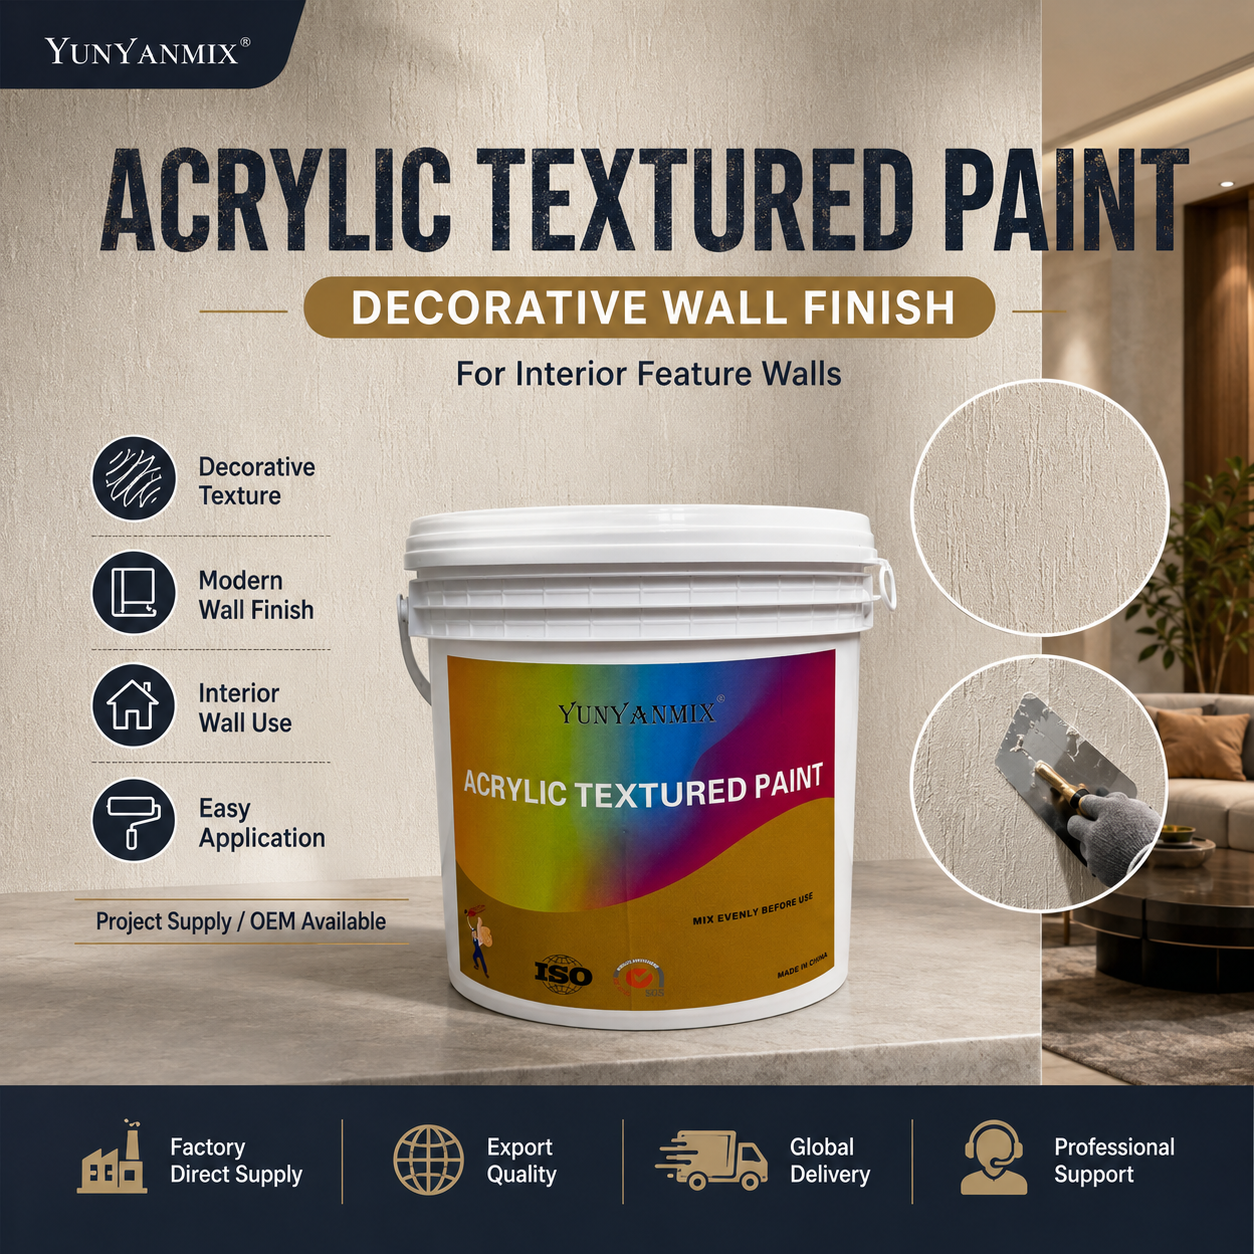
For contractors and distributors looking for a reliable acrylic textured paint supply, YUNYAN's Acrylic Finish Paint line offers consistent viscosity, high sand loading, and low VOC content. It's suitable for exterior textured coating on concrete and cement board, as well as best acrylic texture paint for interior feature walls where low odor is required.
Key advantages for buyers:
- OEM acrylic textured paint for distributors: YUNYAN supports private labeling and custom color matching
- Sustainable acrylic paint for green building projects: Low VOC formulation meets LEED v4 requirements
- Commercial acrylic wall coating for high traffic areas: Excellent abrasion resistance tested at 500+ scrub cycles
- Acrylic stone paint for decorative facades: Can be tinted to match natural stone colors
- Procurement acrylic textured paint for contractors: Available in 5-gallon and 55-gallon drums with fast export shipping
Whether you need a weather resistant textured paint for facades or a low maintenance acrylic wall coating for a hotel lobby, YUNYAN can support your project with technical guidance and packaging flexibility.
Get Technical Support
Need help selecting the right texture or calculating material quantities for your next project? Contact YUNYAN's technical team for project-specific consultation, sample requests, and OEM/private label inquiries.