
How to Apply Metallic Epoxy Top Coat: A Step-by-Step Guide for Flooring Contractors
Background
Metallic epoxy top coat systems have transformed the decorative flooring industry. Unlike standard solid-color epoxy floors, metallic epoxy top coat creates depth, movement, and a luxury floor finish that rivals polished stone or high-end resin surfaces. The effect comes from metallic pigments suspended in clear epoxy, which shift and swirl as the coating is applied, producing unique, one-of-a-kind patterns.
If you're a flooring contractor, interior designer, or architect specifying decorative epoxy floor systems, understanding how to apply metallic epoxy top coat correctly is critical to avoiding delamination, inconsistent color, and costly rework. This guide covers the full process.
Preparation
Tools Required
- 9-inch roller frame with medium-nap microfiber roller covers (3-4 per job)
- Squeegee with rubber blade (18-inch minimum)
- Spike roller (18-inch, 3/8-inch spikes)
- Mixing paddles and heavy-duty drill (variable speed, 600-1000 RPM)
- Disposable paint trays and liners
- Blue painter's tape
- Plastic sheeting for masking
- Personal protective equipment: nitrile gloves, safety glasses, NIOSH-approved respirator (organic vapor cartridge)
- Moisture meter (concrete)
- Dew point thermometer
- Timing stopwatch
Materials Checklist
- Metallic epoxy top coat resin and hardener (calculate 8-10 m² per liter per coat for proper coverage)
- Metallic pigment powders (3-5 colors per job, 50-100g per color per 10 m²)
- Clear epoxy primer (if substrate requires sealing)
- Solvent for cleanup (acetone or denatured alcohol)
- Mixing cups (graduated, 1-liter and 5-liter)
- Abrasive pads (80-120 grit for mechanical adhesion)
Substrate Requirements
- Concrete must be fully cured (28 days minimum for new slabs)
- Moisture vapor emission rate below 3 lbs/1000 sq ft/24 hours
- Surface profile: CSP 2-3 (concrete surface profile) via shot blasting or diamond grinding
- No cracks wider than 1.5 mm without repair
- Temperature: 18-25°C during application and 24 hours after
- Relative humidity below 75%
Step-by-Step Instructions
Step 1: Surface Preparation and Priming
1.1 Mechanically Profile the Concrete Grind or shot blast the entire floor to achieve a uniform CSP 2-3 profile. This mechanical key is essential for the metallic epoxy top coat to bond, especially on polished or sealed concrete. Vacuum thoroughly—any dust left behind will cause fisheyes in the metallic floor finish.
1.2 Repair and Fill Fill all cracks, chips, and control joints with a 100% solids epoxy crack filler. Allow 12-24 hours cure time. Sand flush with 80-grit paper.
1.3 Apply Primer Coat Roll on a thin coat of clear epoxy primer at 4-5 m² per liter. Back-roll immediately to ensure even coverage. Wait until tack-free (4-6 hours at 20°C) before proceeding. Do not sand the primer—metallic pigments require a smooth, undisturbed surface.
Step 2: Mix Metallic Epoxy Top Coat
2.1 Prepare the Base Resin Measure the epoxy metallic coating resin and hardener precisely by volume or weight according to manufacturer specifications. For YUNYAN's 3D epoxy resin system, mix at the exact ratio provided—typically 2:1 or 3:1 depending on the formulation. Over- or under-catalyzing will ruin the metallic effect and compromise durability.
2.2 Add Metallic Pigments Pour the mixed epoxy into a clean bucket. Add metallic pigment powders gradually while mixing at low speed (300-400 RPM). Use 20-40g of pigment per liter of mixed epoxy for full opacity. For a translucent effect, use 10-15g per liter. Stir until no dry pigment remains visible. Do not whip air into the mixture—bubbles become permanent in cured epoxy metallic coating.
2.3 Divide and Color For multi-color swirl effects, divide the mixed epoxy into separate containers. Add different pigment colors to each. Keep the total working time under 25 minutes (pot life at 20°C). If you need more time, split the batch and mix sequentially.
Step 3: Apply the Metallic Epoxy Top Coat
3.1 Pour and Spread Pour the metallic epoxy top coat onto the primed floor in a zigzag pattern. Use a squeegee to spread it to a uniform thickness of 1.5-2.0 mm. Work in sections no larger than 10-15 m² at a time to maintain a wet edge.
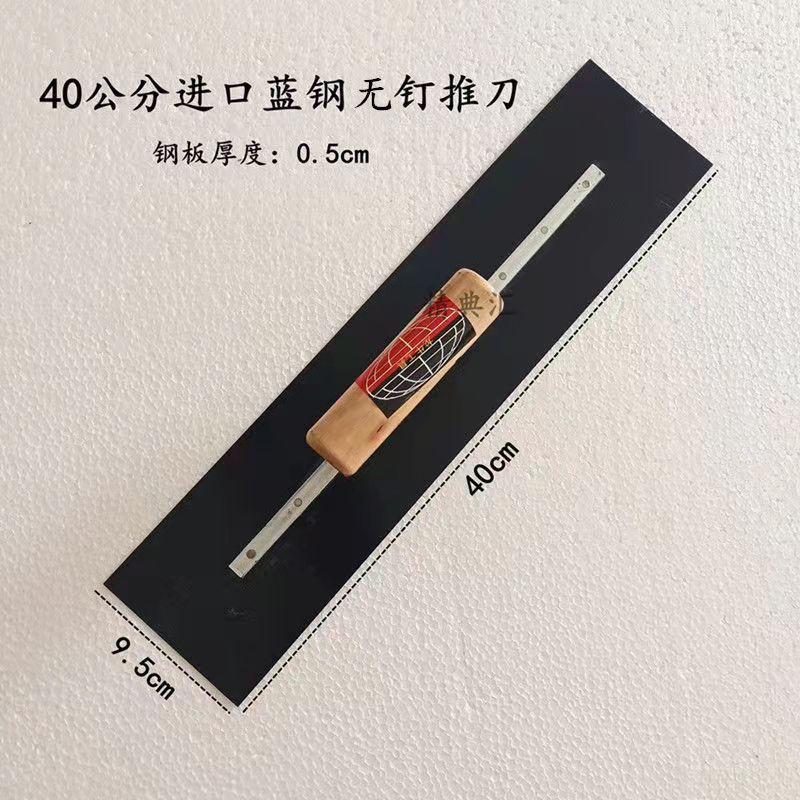
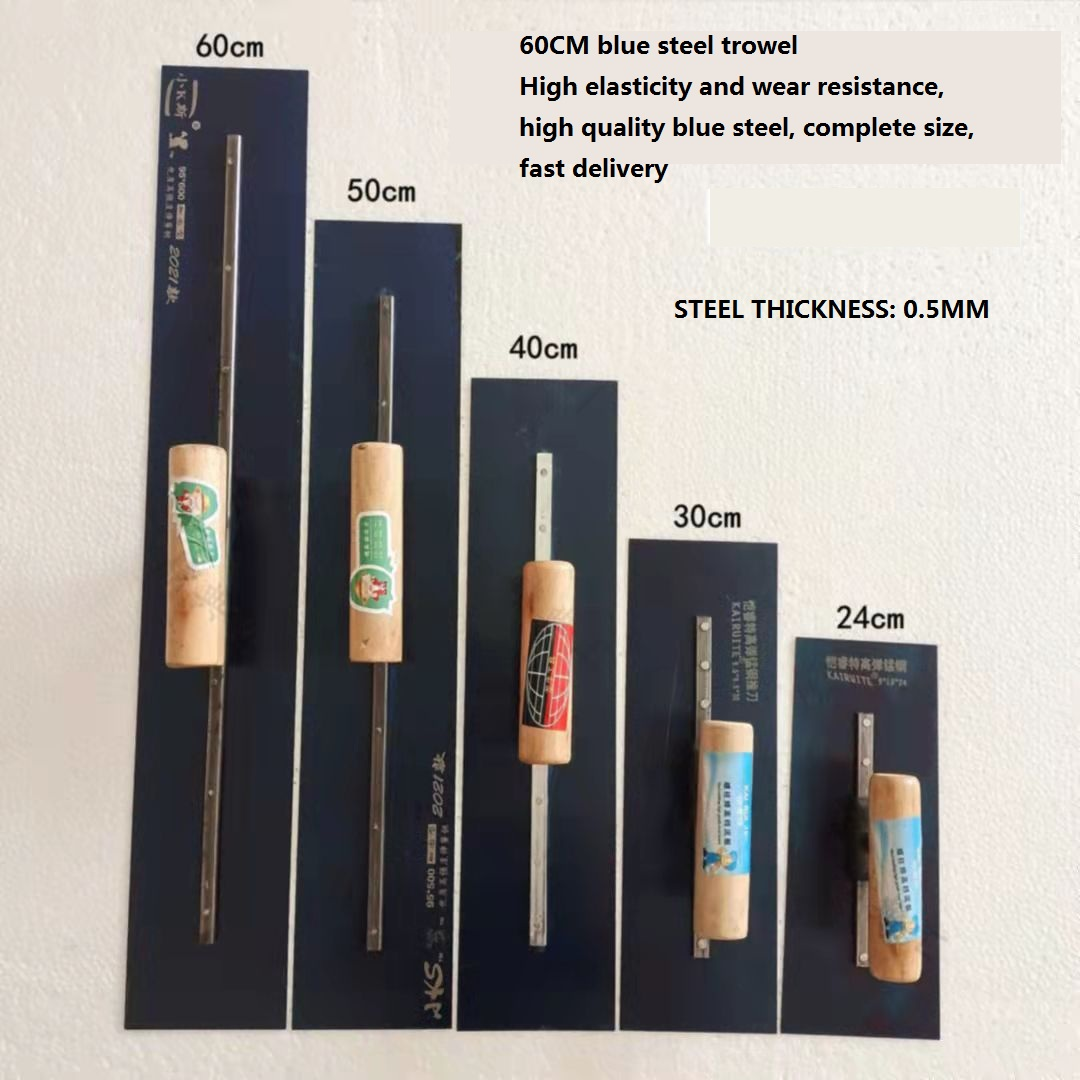
3.2 Create the Metallic Effect Immediately after spreading, use a roller to back-roll the wet coating. Then, while the epoxy is still liquid, use a clean roller or a notched trowel to create swirls, waves, or directional movement. Work quickly—the metallic pigments settle and orient within 5-8 minutes. For 3D metallic floor effects, layer two contrasting colors and manipulate them together before they set.
3.3 Deaerate Pass a spike roller over the entire section to release trapped air. Do this within 3 minutes of application. Excessive rolling will disturb the metallic pattern.
3.4 Repeat for Additional Coats If the specification calls for a second coat (common for high traffic areas or when deeper metallic depth is desired), wait 12-16 hours, lightly sand with 120-grit, vacuum, and repeat steps 2 and 3.
Step 4: Apply High Gloss Epoxy Top Coat (Clear Wear Layer)
4.1 Prepare Clear Top Coat Mix a separate batch of clear epoxy top coat resin and hardener. Do not add metallic pigments. This layer protects the metallic floor finish and provides the high gloss epoxy top coat appearance.
4.2 Apply Evenly Roll the clear top coat at 6-8 m² per liter. Maintain a wet film thickness of 0.5-0.8 mm. Back-roll to eliminate roller marks. Avoid overworking—two smooth passes are sufficient.
4.3 Allow Full Cure Let the system cure for 72 hours before light foot traffic, 7 days before heavy traffic or furniture placement. Maintain temperature above 18°C throughout the cure period.
Step 5: Final Inspection and Light Curing
5.1 Check for Defects After 24 hours, inspect for dust nibs, roller marks, or areas of uneven gloss. Lightly sand any imperfections with 400-grit wet/dry paper and re-coat with clear epoxy only if necessary.
5.2 UV Exposure (Optional) For metallic effects with light-colored pigments, expose the floor to indirect sunlight for 2-3 days. This helps stabilize color and prevents yellowing in the clear top layer.
Common Mistakes
Mistake 1: Insufficient Surface Profiling
Applying metallic epoxy top coat over a smooth or polished slab guarantees adhesion failure. The metallic floor finish relies on mechanical interlock. Always grind to CSP 2-3 minimum. On power-troweled concrete, use diamond tooling with 30/40 grit metal bond segments.
How to Avoid: Perform a water break test. Pour water on the ground concrete—if it beads up, the profile is insufficient. The water should sheet off evenly.
Mistake 2: Overworking the Metallic Pigments
The decorative epoxy floor effect depends on controlled movement of pigments. Excessive rolling, troweling, or manipulation creates muddy colors and destroys the 3D metallic floor illusion. Once you achieve the desired pattern, stop.
How to Avoid: Practice on a test board (60x60 cm) before starting the actual floor. Time yourself and note when the epoxy becomes too thick to manipulate. That's your cut-off point.
Mistake 3: Ignoring Ambient Conditions
Applying epoxy metallic coating in temperatures below 15°C or above 30°C causes curing problems. Cold slows cure and increases viscosity, trapping bubbles. Heat accelerates cure, reducing working time and causing pigment settling.
How to Avoid: Use a dew point thermometer. Do not apply if the substrate temperature is within 3°C of the dew point. Check the forecast—rain within 24 hours of application can cause amine blush on the top coat.
Product Recommendations
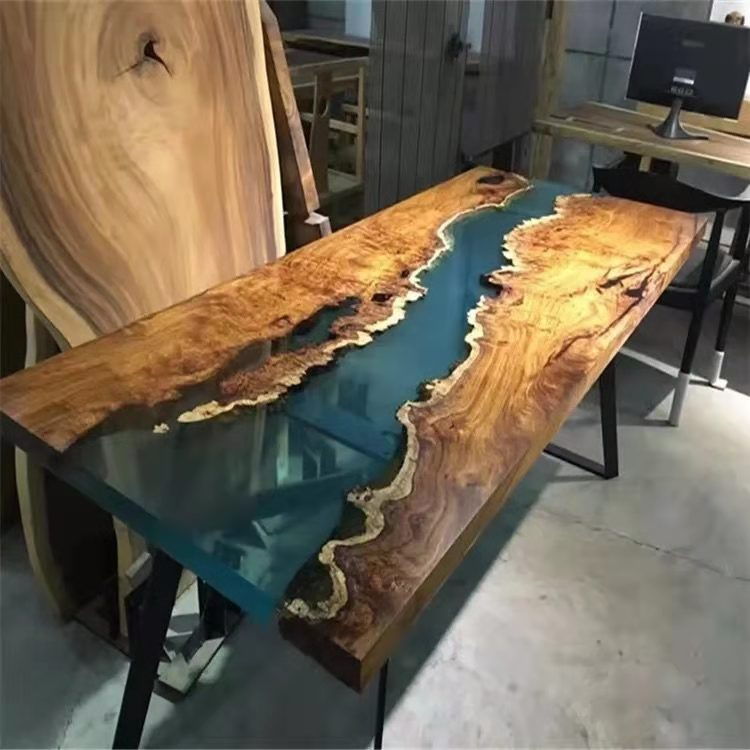
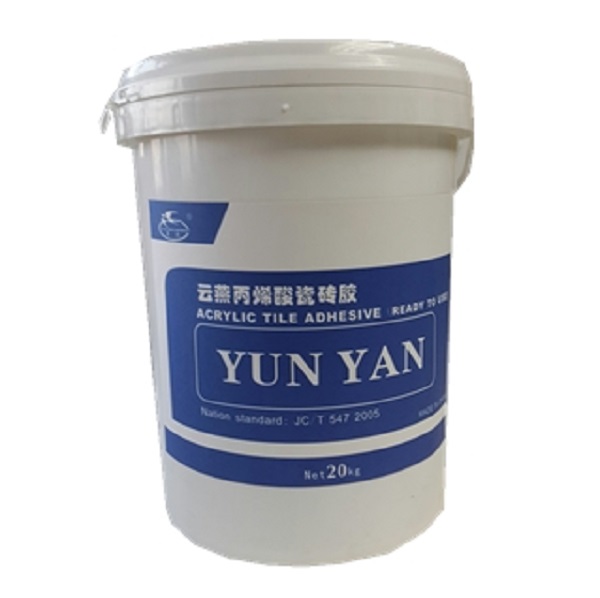
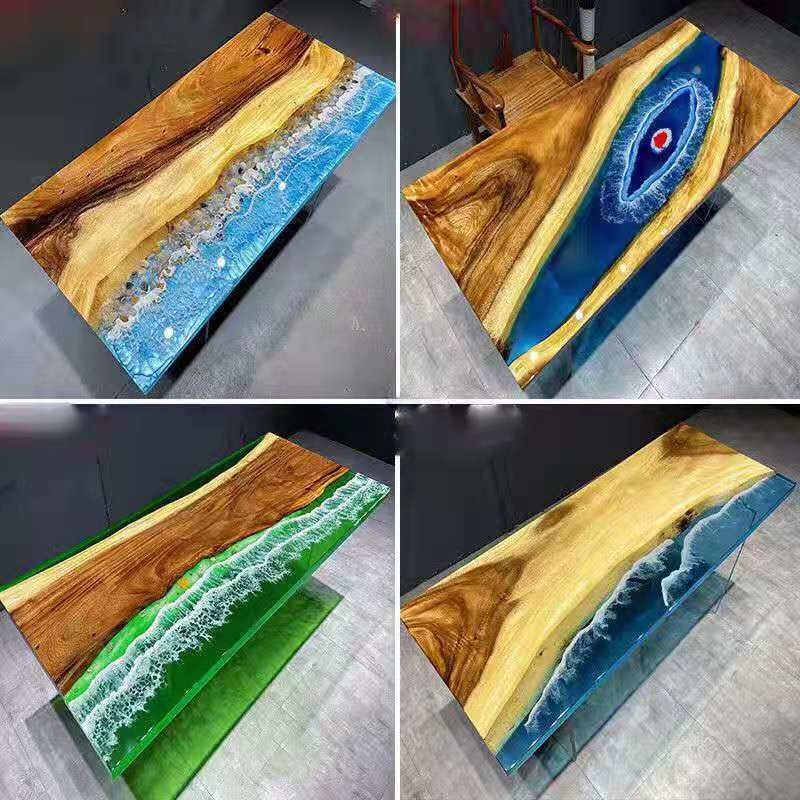
For contractors and distributors sourcing metallic epoxy top coat for commercial or residential projects, YUNYAN offers a 3D epoxy resin system specifically formulated for metallic effects. This product supports both decorative floors and river table applications, making it versatile for designers and installers working across multiple project types.
The YUNYAN 3D epoxy resin delivers consistent viscosity for metallic pigment suspension, low VOC content suitable for showroom and commercial kitchen environments, and a high gloss finish that meets luxury floor finish specifications. For large-scale projects, YUNYAN supports OEM and private label packaging, technical guidance for installation teams, and sample support for specification development.
Application scenarios where YUNYAN's metallic epoxy top coat excels include:
- Retail showrooms requiring a seamless metallic epoxy finish for retail that withstands foot traffic
- Commercial kitchens needing a durable, easy-to-clean epoxy metallic coating with chemical resistance
- Residential garages where clients demand a high-end metallic epoxy top coat for garage floors that resists tire marking and hot tire pickup
For warehouses, YUNYAN's durable metallic epoxy flooring system can be specified with additional clear top coats to handle pallet jack traffic. The company also provides project-specific consultation for contractors facing challenging substrates or custom color matching.