
How to Apply Wall Putty Like a Pro: A Step-by-Step Guide for Contractors and Painters
Background
Every contractor knows the frustration: you prep a wall, prime it, paint it—and within months, hairline cracks appear. The paint peels. The surface feels rough under a raking light. Nine times out of ten, the problem isn't the paint. It's what's underneath.
Wall putty is the difference between a job that looks good for a week and one that holds up for years. Whether you're smoothing new drywall, patching old plaster, or prepping a renovation project, the right wall putty application technique saves you rework, callbacks, and wasted material. This guide covers the tools, the method, and the mistakes that separate average work from finish-quality work.
Preparation — Tools and Materials Checklist
Before you mix a single batch, stage everything. Stopping mid-job to hunt for a tool guarantees inconsistent drying and uneven thickness.
Tools:
- 16" durable hand trowel (for large-area skim coat spreading on walls over 10 m²)
- 12" durable hand trowel (for corners, patches, and small-area wall putty application)
- Mixing paddle and heavy-duty drill (700 RPM minimum)
- Bucket (20-liter, clean)
- Wide putty knife (4-inch for loading the trowel)
- Sanding block or pole sander with 120–150 grit mesh
- Clean rags and a spray bottle with water
- Drop cloths and painter's tape
Materials:
- Interior wall putty (gypsum-based for drywall; cement-based for high-humidity areas like bathrooms)
- Water-resistant putty if the substrate is prone to moisture
- Flexible putty for renovation work over old painted surfaces or where movement is expected
- Primer (acrylic-based, compatible with your putty type)
Quantities per 10 m² (single coat, 1–2 mm thickness):
- Wall putty: 3–4 kg (gypsum) or 4–5 kg (cement-based)
- Water: per manufacturer ratio (typically 30–40% by weight)
- Primer: 1 liter
Step-by-Step Instructions
Step 1: Surface Preparation — The 80% of the Job
Most wall putty failures trace back to this step. Skip it, and your skim coat will delaminate.
1.1 Remove all loose paint, old wallpaper, and dust. Use a scraper or wire brush for stubborn areas. Fill any holes deeper than 3 mm with a repair compound first—don't try to fill them with wall putty in one pass.
1.2 Check moisture content with a moisture meter. If the substrate reads above 12% moisture, stop. Let the wall dry or switch to a water-resistant putty.
1.3 Apply a thin coat of primer using a roller. This seals porous surfaces (new drywall, old plaster) and gives the wall putty something to grip. Wait 4–6 hours for the primer to dry completely.
1.4 Lightly sand the primed surface with 120-grit mesh to knock down any nibs. Vacuum or wipe with a damp cloth.
Step 2: Mixing the Wall Putty — Consistency Is Everything
Wall putty that's too thick won't spread. Too thin, and it sags or cracks.
2.1 Fill your bucket with the measured water first. Add the dry wall putty powder gradually while mixing at low speed. This prevents lumps.
2.2 Mix for 2–3 minutes until the compound is smooth, with a consistency similar to thick yogurt. The trowel should hold a peak that slowly flattens.
2.3 Let the mix sit for 5 minutes (slaking), then stir again for 30 seconds. This activates the binders.
2.4 Use within the working time listed on the bag—typically 30–45 minutes for gypsum putty, 60–90 minutes for cement-based putty. Never add water to revive a stiff mix; discard it and mix fresh.
Step 3: Applying Wall Putty with a Trowel — The Technique
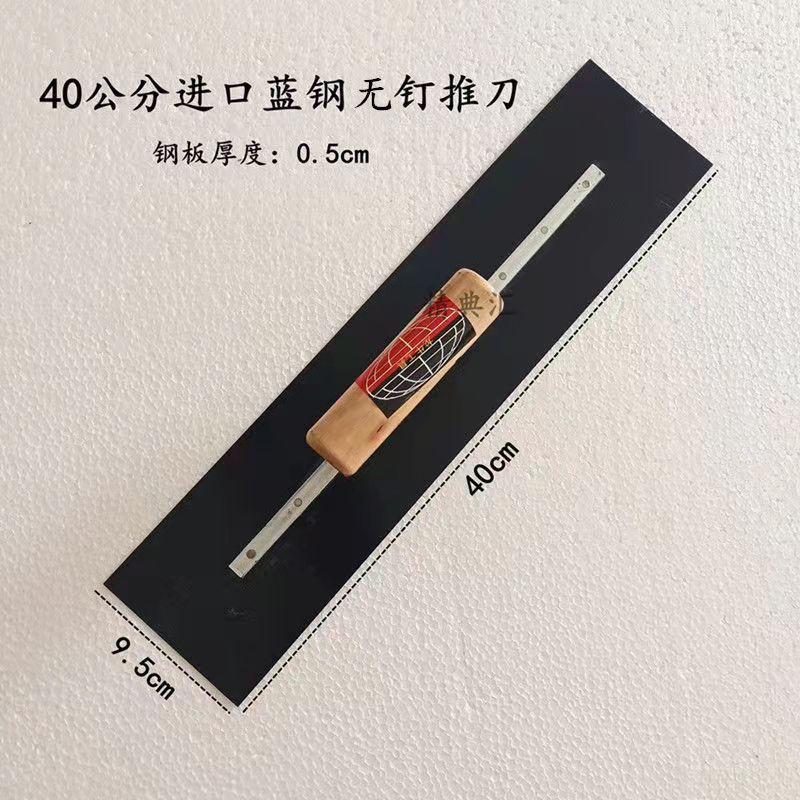
This is where the 16-inch trowel earns its keep for large areas, and the 12-inch trowel handles the tricky spots.
3.1 First coat (scratch coat): Load the edge of your 12" trowel with a 10 mm bead of wall putty. Hold the trowel at a 30-degree angle to the wall. Apply from bottom to top in overlapping strokes, keeping a consistent pressure. Target thickness: 1–1.5 mm. Do not try to achieve a perfect finish on this coat—it's a base layer.
3.2 Second coat (skim coat): Wait 4–6 hours (overnight for cement-based putty). Sand any ridges lightly with 120-grit. Switch to the 16" trowel. Apply a thinner coat (0.5–1 mm) using long, sweeping strokes from top to bottom. Overlap each stroke by 50%. The larger trowel keeps the surface flat and reduces stroke marks.
3.3 Corner and edge work: Use the 12" trowel for internal corners and around outlets. Apply the putty from the corner outward, then feather the edge into the wet skim coat.
3.4 Final pass: When the second coat is still slightly damp (20–30 minutes after application), make one final pass with the 16" trowel using light pressure. This closes surface porosity and reduces sanding later.
Step 4: Drying and Sanding — The Patience Test
Rushing to sand or paint is the fastest way to ruin your work.
4.1 Allow full drying: 12–24 hours for gypsum putty, 24–48 hours for cement-based putty. Humidity and thickness affect this—don't rely on clock time. Touch-test the surface.
4.2 Sand lightly with 150-grit mesh on a pole sander. Use a circular motion, not back-and-forth. The goal is to remove tiny ridges, not to thin the coating.
4.3 Wipe down with a damp cloth to remove all dust. Apply a final primer coat before painting. This seals the wall putty and ensures even paint absorption.
Step 5: Repair and Renovation Work — Special Cases
When patching rather than coating entire walls, the approach changes.
5.1 For cracks: V-groove the crack with a utility knife (3 mm deep, 5 mm wide). Fill with flexible putty using the 12" trowel. Press firmly to force putty into the groove. Let dry, sand, and apply a thin skim coat over the repair.
5.2 For old painted surfaces: Scuff-sand the paint first. Apply a bonding primer. Use a cement-based putty or flexible putty—gypsum putty won't adhere well to glossy paint.
5.3 For water-damaged areas: Cut out all loose material. Treat with mold inhibitor. Use water-resistant putty for the repair, and extend the skim coat at least 150 mm beyond the damaged area to blend the texture.
Common Mistakes — 3 Frequent Errors and How to Avoid Them
1. Applying too thick in one coat What happens: Cracking, sagging, and extended drying time. Fix: Never exceed 2 mm per coat. If the wall is uneven, apply multiple thin coats rather than one thick one. Use a straightedge to check flatness between coats.
2. Skipping primer on porous surfaces What happens: The wall putty dries too fast, loses adhesion, and develops hairline cracks. Fix: Always prime new drywall, old plaster, and any surface with varying porosity. The extra 20 minutes saves a full redo.
3. Using the wrong trowel size for the job What happens: Small trowels on large walls create wavy surfaces; large trowels in tight corners cause overspill and waste. Fix: Keep both the 12" and 16" trowels on hand. Use the 12" for loading and detail work, the 16" for broad skim coating. The 16" trowel's ergonomic design reduces wrist fatigue when you're covering large areas all day.
Product Recommendations
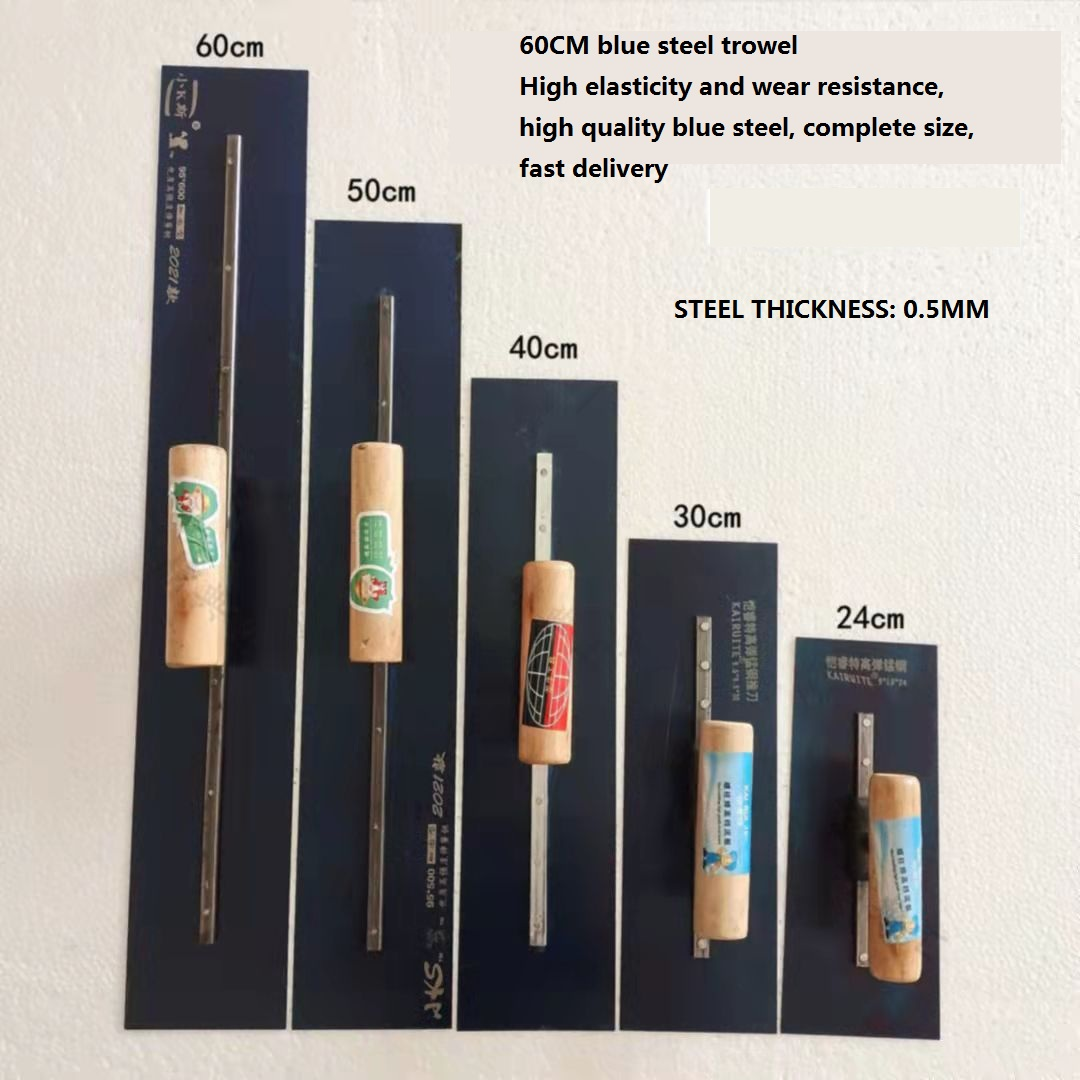
For contractors and distributors sourcing wall putty application tools, YUNYAN offers two hand trowels that match the workflow described above:
-
16" Durable Hand Trowel (Ergonomic Design for Precision) — Ideal for large-area skim coat spreading and cement mortar repair. The ergonomic handle reduces fatigue during long shifts, and the stainless steel blade provides consistent flex for smooth finishing. Price: USD 2.5. View product →
-
12" Durable Hand Trowel (Ergonomic Design for Precision) — Best for wall putty application in tight spaces, small-area mortar repair, and finishing corners. Lighter and more maneuverable for detail work. Price: USD 1.5. View product →
Both tools support export-grade quality and are available for OEM/private label orders. YUNYAN provides sample support, packaging flexibility, and project-specific consultation for distributors and large contractors.
Contractor's Quick Checklist
Before you start your next wall putty job, run through this list:
- Substrate moisture tested (below 12%)
- Primer applied and dried (4+ hours)
- Correct putty type selected (gypsum for drywall, cement-based for wet areas, flexible for renovation)
- Tools staged: 16" trowel, 12" trowel, mixing paddle, bucket
- Working time confirmed on product label
- First coat ≤ 1.5 mm
- Drying time between coats (6+ hours gypsum, 24+ hours cement)
- Final sanding with 150-grit, no skipping
- Final primer before paint
Need technical support on wall putty application, tool selection, or bulk procurement? Contact YUNYAN for export guidance, OEM options, and project-specific recommendations.