
How to Achieve Flawless Self-Leveling Cement Floors: A Step-by-Step Guide for Contractors
Background — What We're Doing and Why
If you're a flooring contractor or civil engineer, you've faced the same problem: uneven concrete subfloors that ruin finish quality, delay project timelines, and increase labor costs. Self-leveling cement solves this by creating a perfectly flat, smooth surface that's ready for tile, vinyl, wood, or carpet in a fraction of the time required for traditional screeding.
Unlike self-leveling cement vs traditional screed debates, the real decision comes down to project requirements: rapid drying screed for tight schedules, pumpable screed for large areas, or low VOC self-leveling underlayment for green building certifications. This guide covers the practical installation process, common pitfalls, and how to choose the right floor leveling compound for commercial and residential work.
Preparation — Tools + Materials Checklist
Tools Required
- Mixing drill (700–900 RPM, minimum 1500W)
- Mixing paddle for thin-set materials
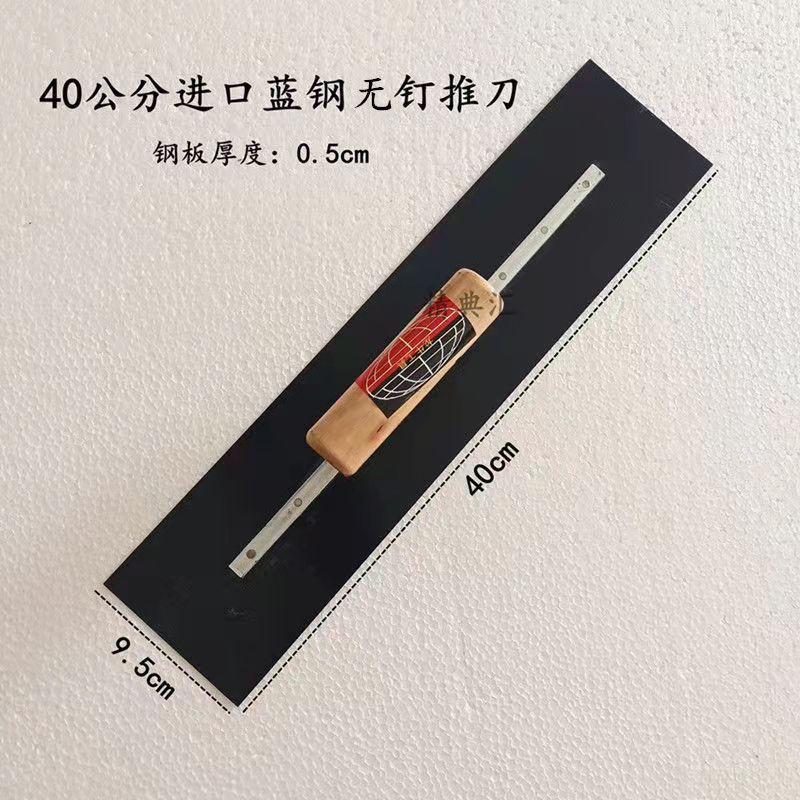
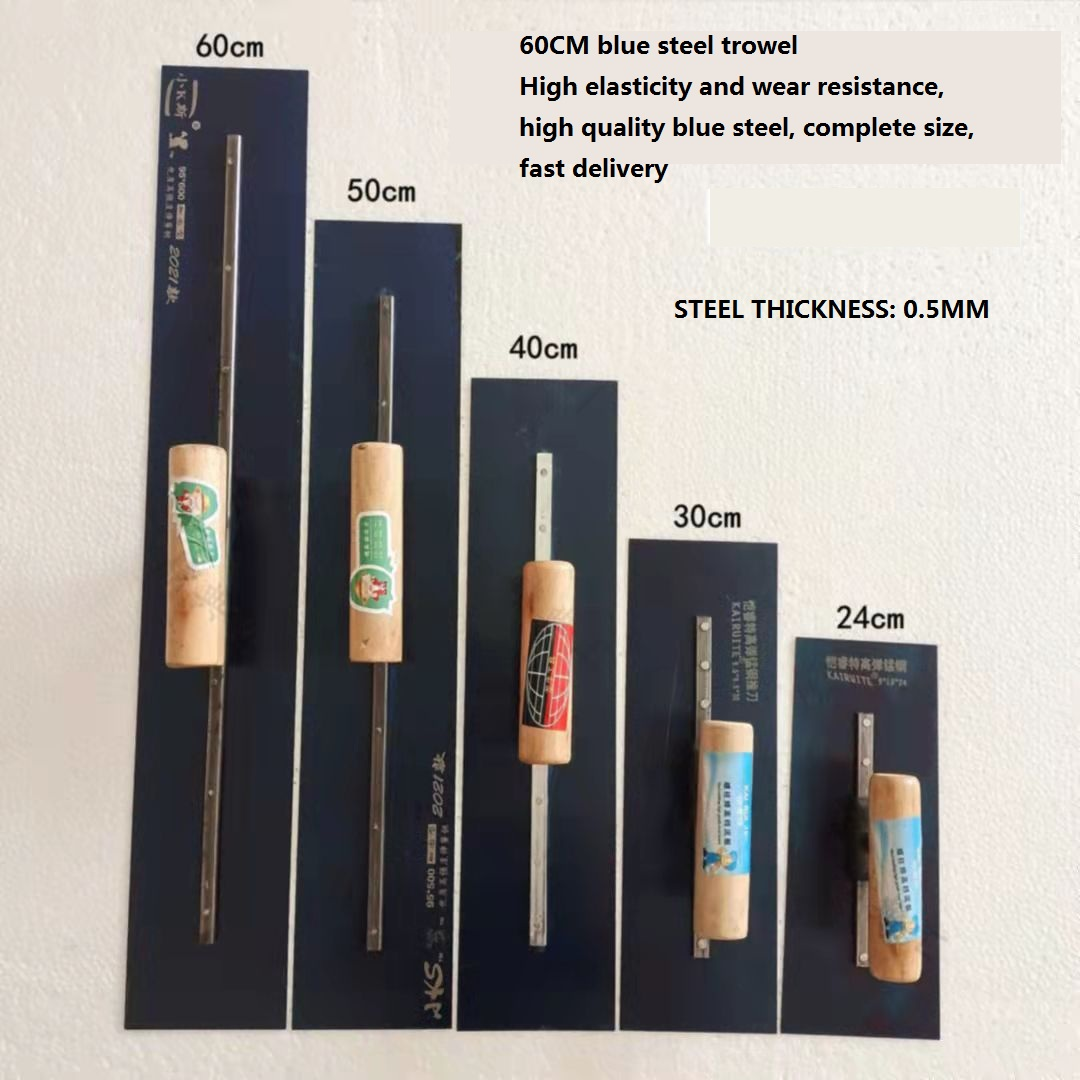
- 150CM*30CM Concrete Floor Tools (for finishing large areas efficiently) — see YUNYAN's option
- Spike roller (with 18–24mm spikes)
- Squeegee or gauge rake
- 20L mixing bucket
- Measuring tape and chalk line
- Moisture meter
- 2m straightedge
- Notched trowel (for edges)
- Knee pads (for extended work)

Materials Required
- Self-leveling cement — quantity based on coverage: typically 1.5–2.0 kg/m² per 1mm thickness
- Primer — specific to your self-leveling underlayment brand
- Mixing water — clean, room temperature (15–20°C)
- Expansion joint material (foam strip or cork)
- Masking tape and plastic sheeting (for protection)
Quantities (per 100m² at 5mm thickness)
| Material | Quantity |
|---|---|
| Self-leveling cement | 800–1000 kg |
| Primer | 4–6 L |
| Water | 200–250 L |
| Spike roller rental | 1 unit |
Step-by-Step Instructions
Step 1: Substrate Preparation (1–2 hours per 100m²)
Sub-step 1.1: Inspect the concrete floor for cracks, holes, and surface contaminants. Use a chisel or grinder to remove any loose material.
Sub-step 1.2: Mechanically abrade the surface using a floor grinder with 40–60 grit diamond tooling. This opens the concrete pores for better adhesion.
Sub-step 1.3: Vacuum thoroughly — any dust will prevent bonding. Apply a concrete primer using a roller at the manufacturer's recommended coverage rate (typically 0.15–0.2 L/m²).
Sub-step 1.4: Allow primer to dry completely (usually 2–4 hours). Test by touching — it should feel tacky but not wet.
Pro Tip: For self-leveling cement for uneven subfloors, fill deep depressions (over 10mm) with a repair mortar first. The floor leveller should only handle 3–10mm thickness in a single pour.
Step 2: Mixing the Self-Leveling Cement (10–15 minutes per batch)
Sub-step 2.1: Pour clean water into a clean bucket following the manufacturer's ratio (typically 3.5–4.0 L water per 20kg bag). Water temperature matters — too cold slows curing, too hot accelerates setting.
Sub-step 2.2: Add the self-leveling cement powder slowly while mixing at low speed (300–400 RPM). After all powder is added, increase speed to 600–800 RPM for 2–3 minutes.
Sub-step 2.3: Scrape sides and bottom of bucket to ensure no dry pockets remain. Mix for an additional 1 minute. The result should be a creamy, pourable consistency — like thick pancake batter.
Sub-step 2.4: Let the mix "slake" (rest) for 2–3 minutes, then remix for 30 seconds. Use within the pot life (usually 15–25 minutes depending on product).
Watch Out: If you're using pumpable screed for large areas, batch mixing must be coordinated with your pump delivery rate. A typical pump can handle 10–15 L/min.
Step 3: Pouring and Spreading (critical window: 20–30 minutes)
Sub-step 3.1: Start at the farthest corner from the exit. Pour in a continuous ribbon, moving backward. The cementitious screed will self-level but needs guidance.
Sub-step 3.2: Use a squeegee or gauge rake to spread the material evenly. Maintain a consistent thickness — use depth gauge markers or chalk lines on walls.
Sub-step 3.3: Immediately after pouring each 3–4m² section, run the spike roller over the surface. This releases trapped air and ensures proper self-leveling cement finishing. Overlap passes by 50%.
Sub-step 3.4: Work continuously — if you stop for more than 2–3 minutes, you'll get cold joints. For larger areas, use multiple crew members or a pump system.
Sub-step 3.5: After the entire floor is poured, use the 150CM*30CM Concrete Floor Tools to smooth out any ridges or overlaps left by the squeegee. These tools help achieve the flatness required for commercial projects.
Step 4: Curing and Drying (varies by product)
Sub-step 4.1: Protect the freshly poured floor from drafts, direct sunlight, and temperature fluctuations. Ideal conditions: 15–25°C, 40–60% relative humidity.
Sub-step 4.2: Self-leveling cement drying time varies significantly:
- Standard products: 24–48 hours before foot traffic, 72 hours before finish flooring
- Rapid drying screed: 3–6 hours foot traffic, 24 hours for tile, 48 hours for moisture-sensitive flooring
- Self-leveling cement for concrete floors (thick pours): 24 hours per 5mm depth
Sub-step 4.3: Test moisture content before installing finish flooring. Use a moisture meter — readings should be below 75% RH (for wood) or 85% RH (for tile) depending on the manufacturer's specification.
Step 5: Final Inspection and Finish Preparation
Sub-step 5.1: Check flatness using a 2m straightedge. Maximum acceptable deviation: 2mm over 2m for most flooring types, 1.5mm for polished concrete or thin-set tile.
Sub-step 5.2: Grind down any high spots with a hand grinder. Fill low spots with a thin second coat of self-leveling underlayment.
Sub-step 5.3: Apply a floor sealer if required (especially for low maintenance floors where dusting would be a problem).
Common Mistakes — 3 Frequent Errors and How to Avoid Them
Mistake 1: Insufficient Priming
Problem: The self-leveling cement delaminates or bubbles, leading to costly rework. Solution: Always prime even if the concrete looks clean. Use a primer specifically designed for your floor leveling compound. Apply two coats on porous or old concrete.
Mistake 2: Wrong Water Ratio
Problem: Too much water weakens the cementitious screed and causes cracking; too little makes it impossible to spread. Solution: Measure water precisely with a graduated bucket. Never add extra water to extend pot life — product will fail. Mix in consistent batch sizes.
Mistake 3: Pouring Too Slowly
Problem: Cold joints and uneven thickness where one pour has set before the next is placed. Solution: For areas over 50m², use a pumpable screed system with continuous mixing. For hand pours, work with a partner: one mixes while the other spreads and rolls. Never let more than 3–5 minutes pass between adjacent pours.
Product Recommendations
For contractors and distributors sourcing self-leveling cement for commercial projects, YUNYAN offers the 150CM*30CM Concrete Floor Tools designed specifically for self-leveling cement finishing and concrete floor preparation. These tools help achieve the flatness and smoothness required for self-leveling cement for commercial floors and large area repairs.
YUNYAN supports:
- Export and OEM procurement — customize packaging and formulations for your market
- Technical guidance — project-specific consultation for self-leveling cement application problems
- Sample support — test products before bulk ordering
- Sustainable self-leveling cement options — low VOC formulations meeting green building standards
- Packaging flexibility — from 20kg bags to 1-ton bulk sacks
For distributors looking for self-leveling cement procurement for distributors, YUNYAN's factory-direct pricing and quality control make us a reliable partner for consistent supply.
Contact Us
Need technical support for your self-leveling cement project? Our team provides installation guidance, product selection advice, and custom solutions for contractors, engineers, and distributors.