
How to Achieve a Seamless Microcement Floor: A Step-by-Step Guide for Contractors and Interior Designers
Background
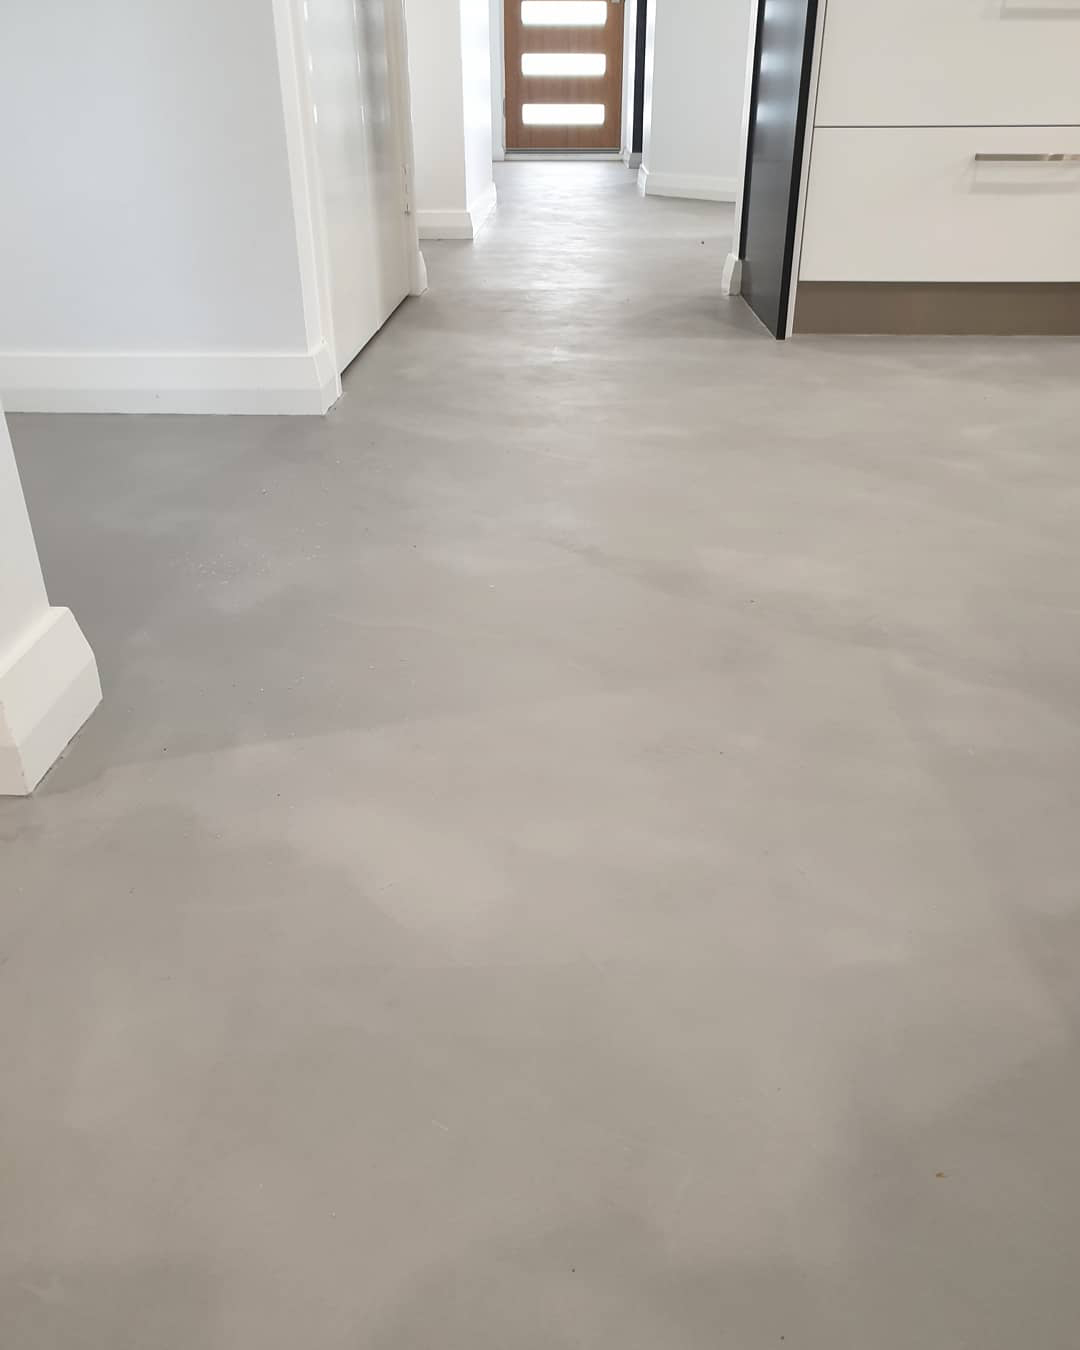
Microcement has revolutionized modern flooring and surfacing. This decorative thin layer cement system delivers a seamless concrete finish that works over existing tiles, concrete, or even wood. For interior designers and flooring contractors, microcement offers design flexibility without the weight or thickness of traditional concrete. Whether you're planning a microcement bathroom floor, a microcement kitchen floor, or even microcement outdoor flooring, understanding the microcement application process is critical to achieving a polished cement floor that lasts.
Preparation — Tools + Materials Checklist
- Microcement base coat (YUNYAN Fiber-Reinforced Base) — 2–3 kg/m² per coat
- Microcement top coat (YUNYAN Color Finish) — 1–1.5 kg/m² per coat
- Microcement sealer (YUNYAN Polyurethane Sealer) — 0.15–0.2 L/m²
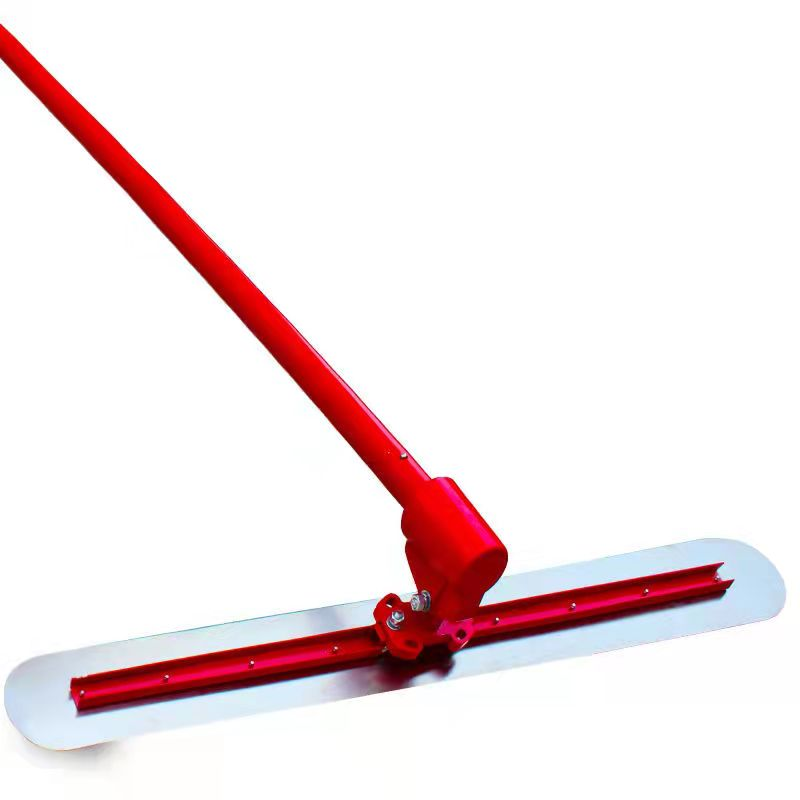
- Stainless steel trowel (flexible, 300 mm blade)
- Mixing drill with paddle (700–900 RPM)
- Measuring bucket (10 L)
- Sandpaper (120–400 grit)
- Vacuum cleaner (industrial grade)
- Painter's tape and plastic sheeting
- Protective gloves, goggles, and knee pads
Step-by-Step Instructions
Step 1: Substrate Preparation
- Clean the surface thoroughly — remove all dust, grease, and loose particles. Vacuum twice.
- If applying microcement over tiles, check for hollow spots. Repair any loose tiles with a flexible filler.
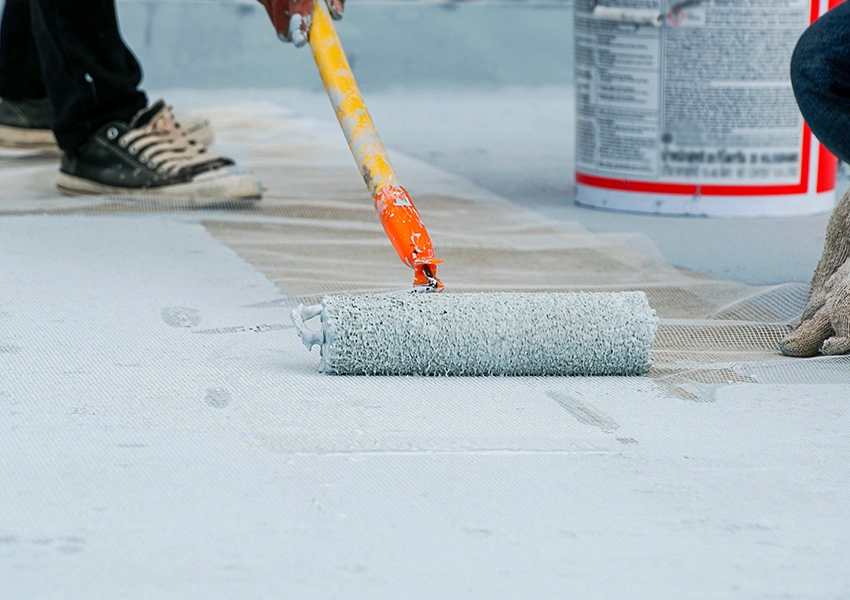
- Prime the substrate using YUNYAN Acrylic Primer. Apply evenly with a roller. Wait 4–6 hours before proceeding.
- Tape off all edges, drains, and adjacent surfaces. Protect door frames and cabinets.
Step 2: Apply the Microcement Base Coat
- Mix the microcement base powder with water per manufacturer ratio (typically 4:1 by weight). Blend for 3–5 minutes until lump-free.
- Apply the first thin layer cement coat using a stainless steel trowel. Spread at 1–2 mm thickness. Work in sections of 1–2 m².
- Wait 4–6 hours. Lightly sand with 120-grit paper. Vacuum dust.
- Apply a second base coat at 90° angle to the first. Thickness: 1–1.5 mm. Wait 6–8 hours.
Step 3: Apply the Microcement Top Coat (Color Layer)
- Mix the colored microcement floor finish powder with water. Stir thoroughly.
- Apply the first color coat at 0.5–1 mm thickness. Use long, even trowel strokes. Overlap each pass by 50%.
- Wait 4–6 hours. Sand lightly with 220-grit paper. Vacuum.
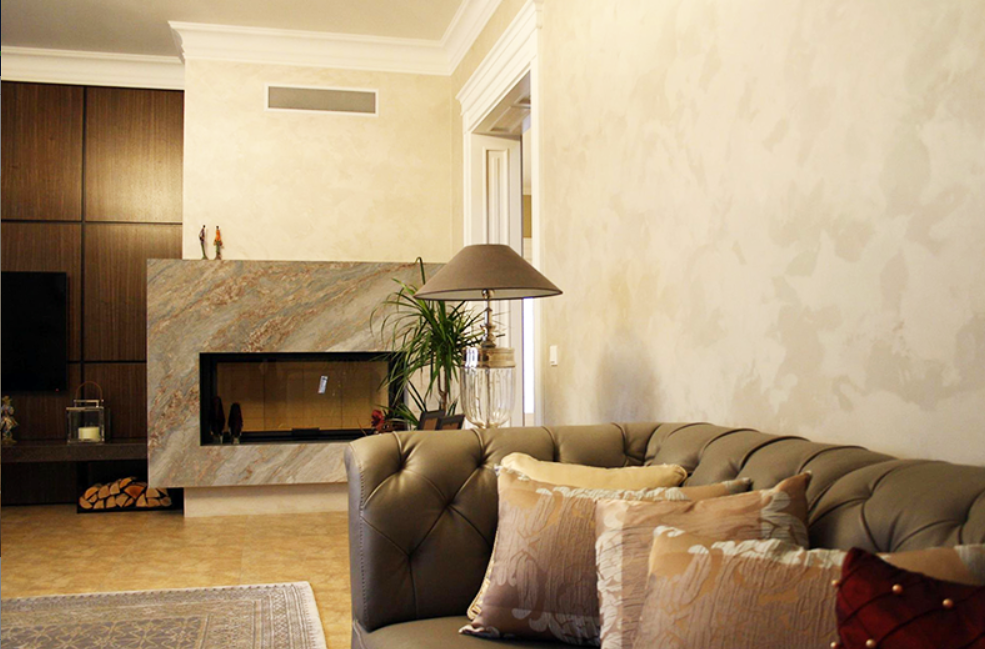
- Apply the second color coat. Thickness: 0.5 mm. For a decorative microcement look, vary trowel pressure slightly.
- Wait 8–12 hours. Final sand with 320-grit paper. Vacuum meticulously.
Step 4: Seal and Finish
- Apply YUNYAN Polyurethane Sealer in two thin coats. Use a microfiber roller. First coat: wait 4 hours.
- Lightly sand with 400-grit paper between coats. Vacuum.
- Apply final sealer coat. Wait 24 hours before light foot traffic. 72 hours for furniture.
Step 5: Curing and Maintenance
- Avoid water exposure for 7 days. For microcement bathroom floor applications, extend to 10 days.
- Clean with pH-neutral cleaner only. Avoid bleach or acidic products.
- Reapply sealer every 12–18 months for high-traffic areas. This is key for microcement maintenance tips.
Common Mistakes
1. Applying Too Thick
Mistake: Applying microcement in layers thicker than 2 mm causes cracking. Fix: Always apply thin layer cement at the specified thickness. Use a notched trowel gauge if needed.
2. Skipping Sanding Between Coats
Mistake: Not sanding leads to poor adhesion and a rough seamless concrete finish. Fix: Sand every coat after it dries. Vacuum thoroughly. This is non-negotiable for a true polished cement floor.
3. Sealing Too Early
Mistake: Applying sealer before the microcement is fully cured causes whitening (blushing). Fix: Wait at least 8–12 hours after the final color coat. Check moisture content with a moisture meter (target <4%).
Product Recommendations
For reliable results, use YUNYAN's complete microcement system. Our microcement concrete overlay range includes fiber-reinforced base coats, UV-stable color finishes, and high-durability polyurethane sealers. YUNYAN products are formulated for consistent microcement performance across microcement residential flooring, commercial spaces, and microcement outdoor flooring projects. Contractors appreciate the predictable microcement application process and the microcement flooring cost savings from reduced material waste.
Need Technical Support?
For detailed microcement application process guidance, custom color matching, or bulk pricing for your project, contact our technical team: yunyanchina.com/contact-us