
How to Apply Acrylic Textured Paint on Concrete: A Step-by-Step Guide for Contractors
Background
Concrete surfaces—whether exterior walls, commercial facades, or interior feature walls—present a common challenge: they're durable but visually flat, prone to cracking, and difficult to clean. Acrylic textured paint solves this by combining decorative finish with protective coating in a single application. Unlike smooth paint, which shows every substrate imperfection, a textured wall coating hides flaws, adds dimensional interest, and provides weather resistance for exterior applications. For contractors and specifiers, understanding how to apply acrylic textured paint correctly means fewer callbacks, better client satisfaction, and longer-lasting results.
This guide covers the full process for applying acrylic textured paint for exterior walls and interior surfaces, using trowel-on texture techniques and spray application methods.
Preparation
Tools Checklist
- Power mixer with paddle attachment
- Heavy-duty paint mixer drill (minimum 600 RPM)
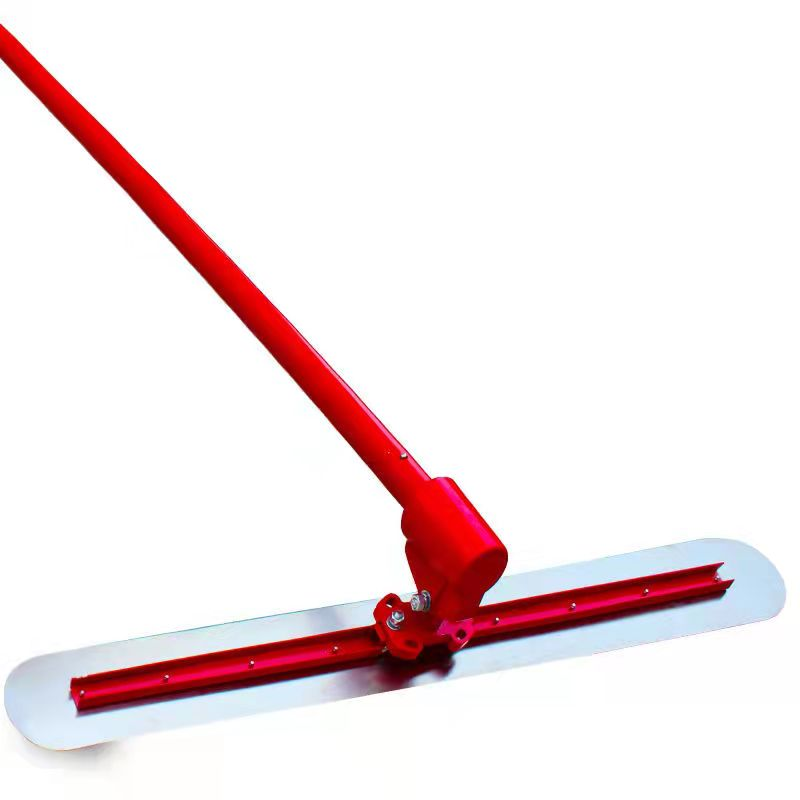
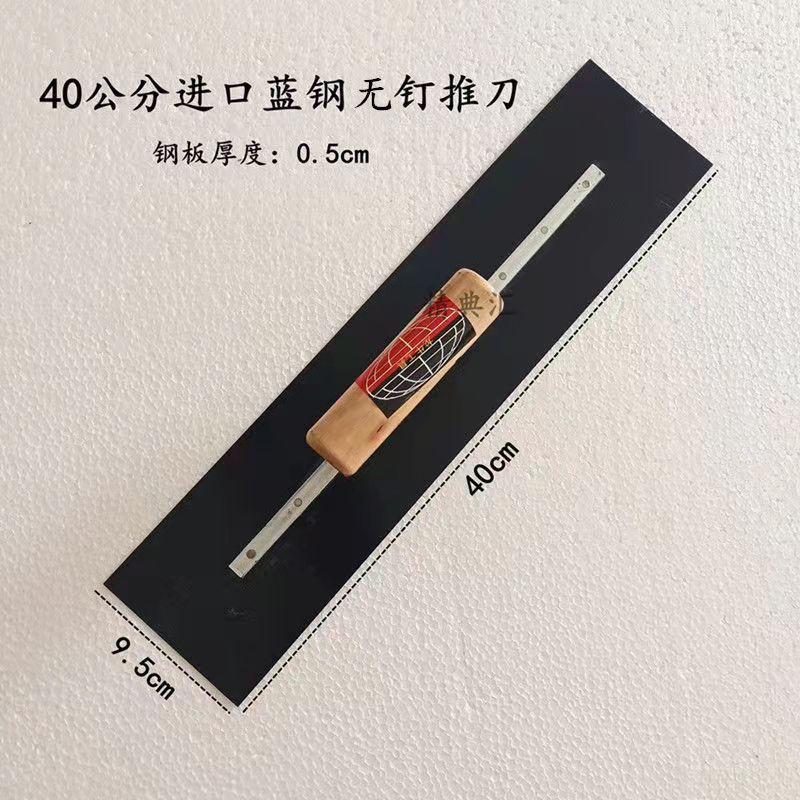
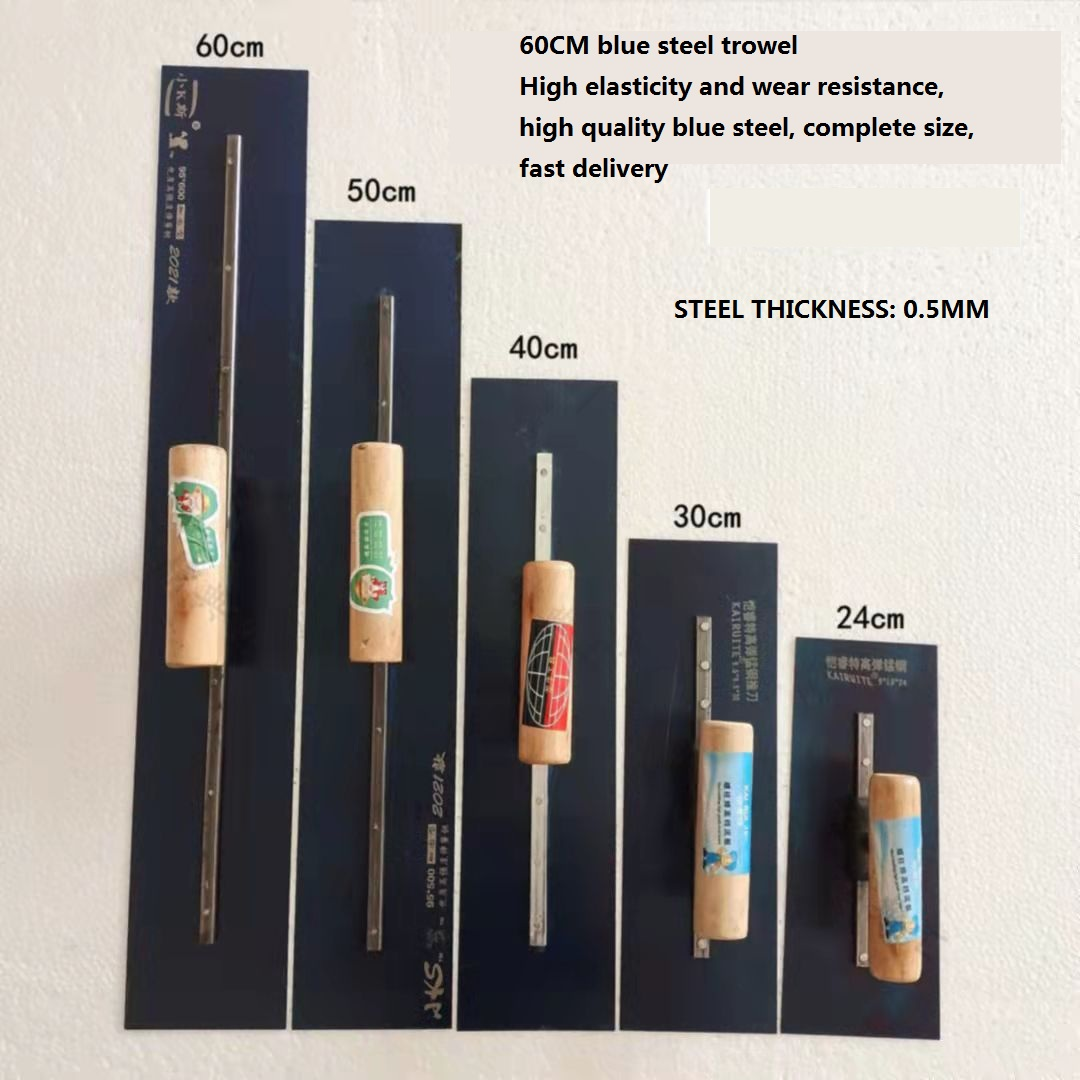
- Stainless steel trowel (various sizes: 4", 8", 12")
- Texture sprayer or hopper gun (for larger areas)
- Roller frame with 18mm nap covers
- Paint tray and liners
- Masking tape (50mm width) and plastic sheeting
- Putty knife and scraper
- Sanding block (120-grit)
- Clean rags and water bucket
- Safety glasses and respirator (N95 minimum)
- Drop cloths
Materials Checklist
- Acrylic textured paint (calculate: 1.5–2.5 kg/m² depending on texture depth)
- Concrete primer/sealer (acrylic-based, ~0.2 L/m²)
- Cement-based patching compound (for cracks >2mm)
- Clean water (for thinning, if manufacturer allows)
- Cleaning solvent (water-based)
Surface Preparation Checklist
- Substrate: cured concrete (minimum 28 days old)
- Surface temperature: 5°C–35°C
- Moisture content: below 10% (use moisture meter)
- Ambient humidity: below 85%
- No active water leaks or rising damp
Step-by-Step Instructions
Step 1: Surface Preparation and Priming
Sub-step 1.1: Inspect the concrete surface for cracks, spalling, or efflorescence. Repair any cracks wider than 2mm using cement-based patching compound. Allow repairs to cure for 24 hours.
Sub-step 1.2: Clean the surface thoroughly. Remove dust, oil, grease, or old paint using pressure washing (max 1500 PSI) or a stiff brush with water and mild detergent. For mold or algae on exterior walls, apply a diluted bleach solution (1:3 with water), scrub, and rinse.
Sub-step 1.3: Allow the surface to dry completely—minimum 24 hours in good weather, 48 hours in humid conditions. Test dryness by taping plastic sheeting overnight; condensation indicates insufficient drying.
Sub-step 1.4: Apply a concrete primer using a roller or sprayer. Use an acrylic-based primer for best adhesion with acrylic textured paint. Coverage: approximately 0.2 L/m². Allow primer to dry per manufacturer instructions (typically 4–6 hours at 20°C).
Contractor Tip: Skipping primer on smooth or dense concrete is the #1 cause of acrylic textured paint application problems and solutions discussions we hear. Primer ensures mechanical bonding and prevents the decorative wall finish from peeling.
Step 2: Mixing the Acrylic Textured Paint
Sub-step 2.1: Open the container and stir thoroughly with a paddle mixer. Acrylic textured paint contains aggregates (sand, stone chips, or synthetic particles) that settle during storage. Mix at low speed (400–600 RPM) for 2–3 minutes until uniform.
Sub-step 2.2: Check consistency. The material should be thick enough to hold a trowel ridge but fluid enough to spread. If thinning is needed, add clean water in 2% increments (maximum 5% of volume). Over-thinning reduces texture definition and coverage.
Sub-step 2.3: For large projects, batch-mix multiple containers in a clean 20L bucket to ensure color consistency. OEM acrylic textured paint supplier recommendations: always mix enough for one continuous application area to avoid visible seams.
Sub-step 2.4: Test the mixture on a scrap board. Apply a small amount with your chosen tool (trowel, roller, or sprayer) and check texture appearance. Adjust water content or application tool if needed.
Step 3: Applying the First Coat
Sub-step 3.1: Apply the base coat using a roller or sprayer. For roller application, use an 18mm nap roller and work in 1m² sections. Maintain a wet edge—do not let the material dry before covering adjacent areas.
Sub-step 3.2: For trowel-on texture, apply a thin, even layer (1–2mm) using a stainless steel trowel held at a 30–45° angle. Work from top to bottom on walls, applying consistent pressure.
Sub-step 3.3: Create the desired texture pattern:
- Sand textured paint effect: Use a roller to stipple the wet coating, creating a fine, sandy finish
- Swirl or skip-trowel: Use the trowel edge to create arcs or random patterns
- Spray texture: Use a hopper gun with adjustable nozzle for consistent orange-peel or splatter patterns
Sub-step 3.4: Allow the first coat to dry for 4–6 hours (at 20°C, 50% humidity). Longer in cooler or humid conditions. Do not force dry with heaters—this causes cracking.
Step 4: Applying the Second Coat and Final Texture
Sub-step 4.1: Lightly sand any high spots or ridges from the first coat using 120-grit sandpaper. Remove dust with a clean cloth.
Sub-step 4.2: Apply the second coat at 1.5–2mm thickness, working in the same direction as the first coat. For exterior textured coating on facades, ensure complete coverage at edges, corners, and around windows.
Sub-step 4.3: Finalize the texture pattern while the second coat is still wet. For acrylic stone paint for interior feature walls, use a trowel to create a stone-like appearance by pressing and lifting the trowel in a stippling motion.
Sub-step 4.4: Allow the finish coat to dry for 24–48 hours before any touch-up or light cleaning. Full cure takes 7 days at 20°C.
Step 5: Curing and Protection
Sub-step 5.1: Protect the freshly applied decorative wall finish from rain, direct sunlight, and dust for at least 48 hours. Use scaffolding covers or plastic sheeting for exterior work.
Sub-step 5.2: For weather resistant acrylic wall coating for commercial buildings, ensure drainage details (drip edges, flashing) are intact to prevent water from running behind the coating.
Sub-step 5.3: Clean tools immediately with water. Dried acrylic textured paint is difficult to remove and can clog spray equipment permanently.
Common Mistakes
Mistake 1: Applying on Damp or Green Concrete
- The problem: Moisture trapped beneath the coating causes blistering, peeling, and efflorescence (white salt deposits).
- How to avoid: Always test moisture content with a meter (below 10%). For new concrete, wait minimum 28 days before applying any textured wall coating.
Mistake 2: Inconsistent Texture Across Large Areas
- The problem: Visible seams or color variation where sections were applied at different times or with different tool pressure.
- How to avoid: Work with a partner—one person applies, one person textures. Maintain wet edges. For facades, plan application in vertical strips and complete each strip in one session.
Mistake 3: Over-Thinning to Improve Workability
- The problem: Adding too much water reduces the binder-to-aggregate ratio, weakening adhesion and reducing weather resistant acrylic wall coating performance.
- How to avoid: If the material is too thick, use a mechanical mixer at higher speed to improve flow. Only add water in small increments (2% of volume) and test on scrap first.
Product Recommendations
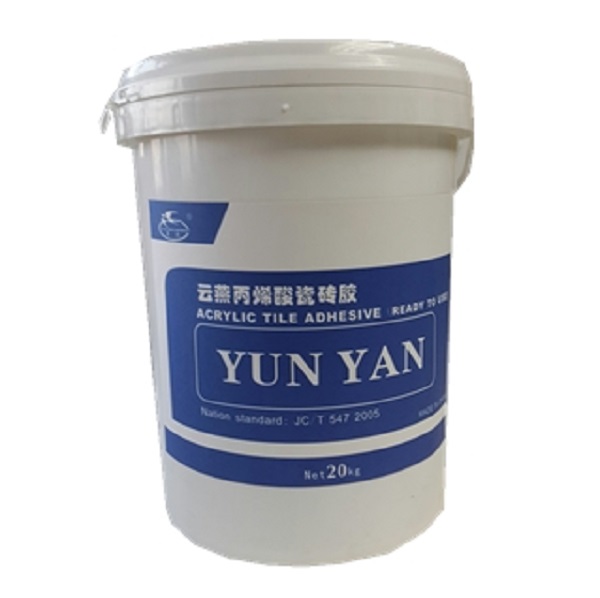
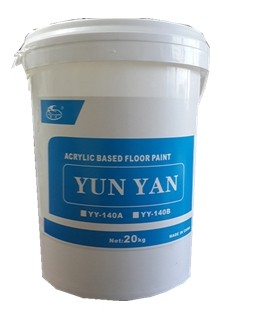
For contractors and specifiers seeking reliable acrylic textured paint for both interior and exterior applications, YUNYAN offers Acrylic Finish Paint from their Acrylic Texture & Stone Paint category. This product is designed for:
- Exterior walls and decorative facades: The weather resistant acrylic wall coating formulation withstands UV exposure, rain, and temperature cycling.
- Interior feature walls: The decorative wall finish can be applied as an acrylic stone paint for interior feature walls using trowel techniques.
- Commercial buildings: As a low VOC decorative wall coating contractor choice, it meets green building requirements while providing high-traffic durability.
YUNYAN supports OEM acrylic textured paint supplier partnerships for distributors and large-scale projects. They offer:
- Export support for acrylic textured paint for export wholesale orders
- Private label options for branding
- Sample support for project testing
- Technical guidance for application troubleshooting
- Packaging flexibility (5L, 20L, or bulk containers)
- Project-specific consultation for sustainable acrylic texture paint for green building certifications
For procurement guide for acrylic textured wall coatings, YUNYAN can help evaluate substrate conditions, climate factors, and performance requirements to recommend the right formulation.
Contractor Checklist for Acrylic Textured Paint Projects
| Check | Item |
|---|---|
| ☐ | Substrate: concrete cured ≥28 days, moisture ≤10% |
| ☐ | Surface temperature: 5°C–35°C during application |
| ☐ | Primer applied: acrylic-based, full coverage |
| ☐ | Material mixed: paddle mixer, 2–3 minutes |
| ☐ | Tool selection: trowel/roller/sprayer matched to texture type |
| ☐ | Wet edge maintained: no dry seams |
| ☐ | Two coats applied: base + finish |
| ☐ | Cure time: 24–48 hours before exposure |
| ☐ | Full cure: 7 days before heavy contact |
| ☐ | Weather protection: rain/sun/dust barriers in place |