
The Allure of Crafting Your Own DIY River Table
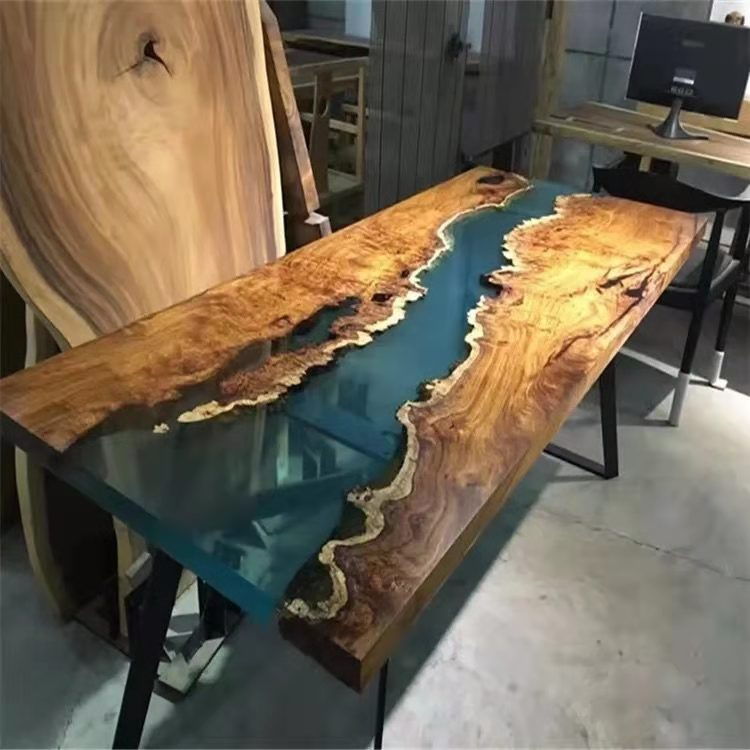
A DIY river table is more than just a piece of furniture; it's a stunning fusion of natural wood and vibrant epoxy resin, creating a unique centerpiece that tells a story. These tables, characterized by a resin 'river' flowing between slabs of wood, often with live edges, have captivated homeowners and design enthusiasts alike. Embarking on a project to create your own allows for immense creative expression, resulting in a functional work of art that perfectly matches your style and space. The satisfaction of crafting such a beautiful and intricate piece with your own hands is unparalleled, making the journey of its creation almost as rewarding as the final product itself. Whether you envision a rustic charm or a sleek modern aesthetic, a handcrafted river table brings an undeniable touch of elegance and individuality to any room.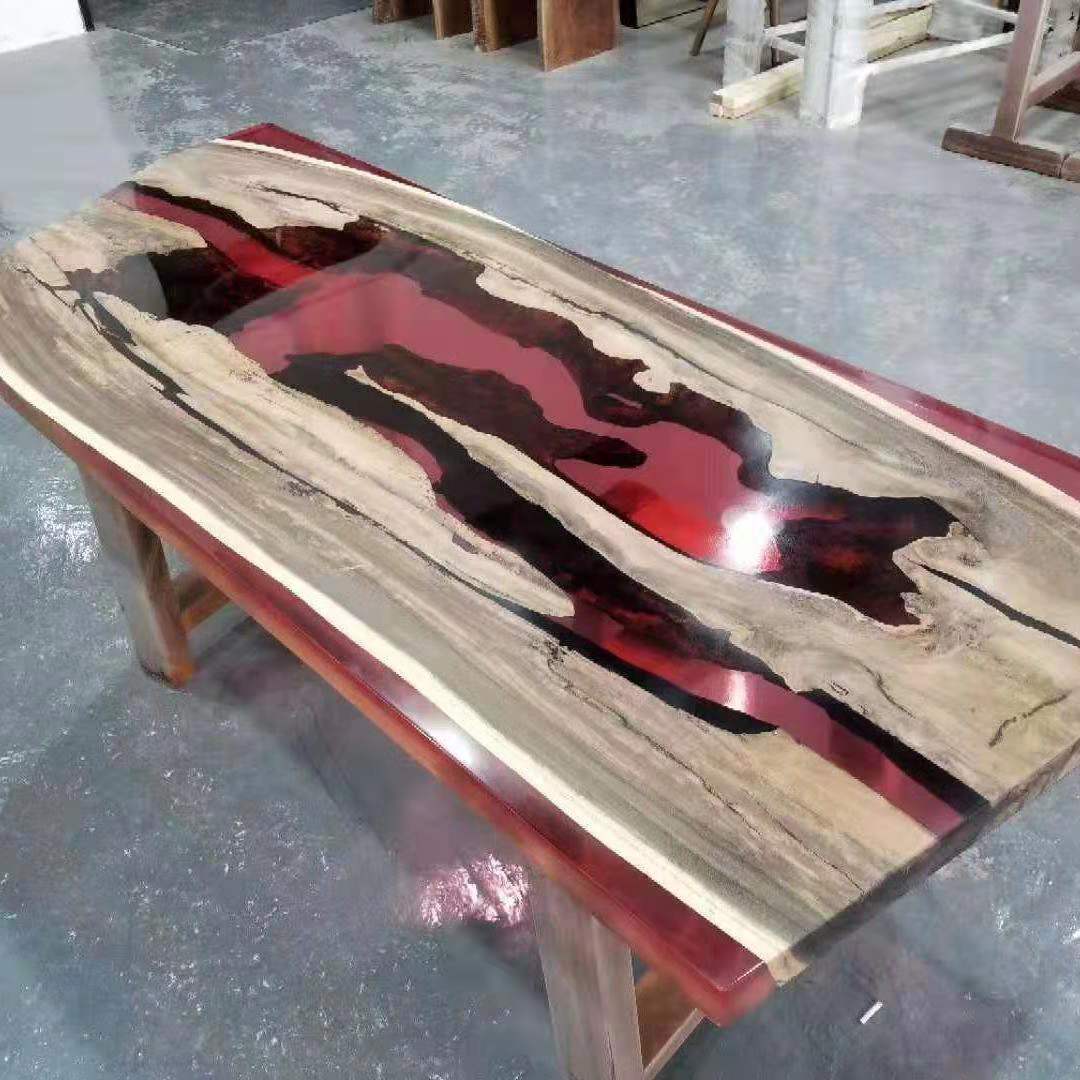
Sourcing Your Key Ingredient: Finding Epoxy Resin Suppliers
The success of your river table project hinges significantly on the quality of the epoxy resin you use. When looking into finding epoxy resin suppliers, it's crucial to select a product that offers clarity, UV resistance to prevent yellowing, excellent self-leveling properties for a smooth finish, and good durability for a long-lasting surface. Many creators shop for epoxy resin online, where a wide variety of brands and formulations are available. Look for resins specifically designed for deep pours or casting, as these are generally better suited for the volume required for river tables. Consider reading reviews and perhaps starting with a smaller kit from a potential supplier to test its characteristics, such as bubble release and curing time, before committing to larger quantities for your main project. A high-quality resin will ensure your river flows beautifully and cures to a crystal-clear, resilient finish, truly showcasing the wood's natural beauty.
The Creative Heart: Resin and Wood Furniture Design
The journey of creating decorative resin river tables begins long before the first drop of resin is poured; it starts with visionary resin and wood furniture design. Choosing the right wood is paramount. Species with interesting grain patterns, live edges, or even characterful imperfections like knots and burls can add immense depth and personality. You might opt for locally sourced timber, reclaimed wood with a history, or exotic hardwoods for a more striking look. The design of the 'river' itself is also a key consideration – will it be a gentle meander, a bold straight channel, or multiple streams? Sketching your ideas and planning the dimensions carefully will help ensure the proportions are balanced and the final piece is both aesthetically pleasing and functional. This stage is where your creativity truly takes flight, allowing you to conceptualize a unique piece that reflects your personal style.
Bringing the River to Life: Mastering Resin Flow Techniques
Once your wood is prepared and your mold is securely built, the magic of applying resin flow techniques begins. Ensuring your mold is perfectly level and completely sealed is critical to prevent leaks and achieve an even surface. The epoxy resin, typically a two-part system consisting of resin and hardener, must be mixed precisely according to the manufacturer’s instructions. Pouring is often done in layers, especially for deeper rivers, to help manage heat buildup (exothermic reactions) and ensure proper curing. Techniques for minimizing bubbles include warming the resin slightly, using a slow mixing technique, and passing a heat gun or torch lightly over the surface after pouring. Achieving a smooth, void-free river requires patience and attention to detail, but mastering these fundamental techniques is key to a professional-looking finish.
Elevating Your Creation: Advanced Epoxy Resin Techniques
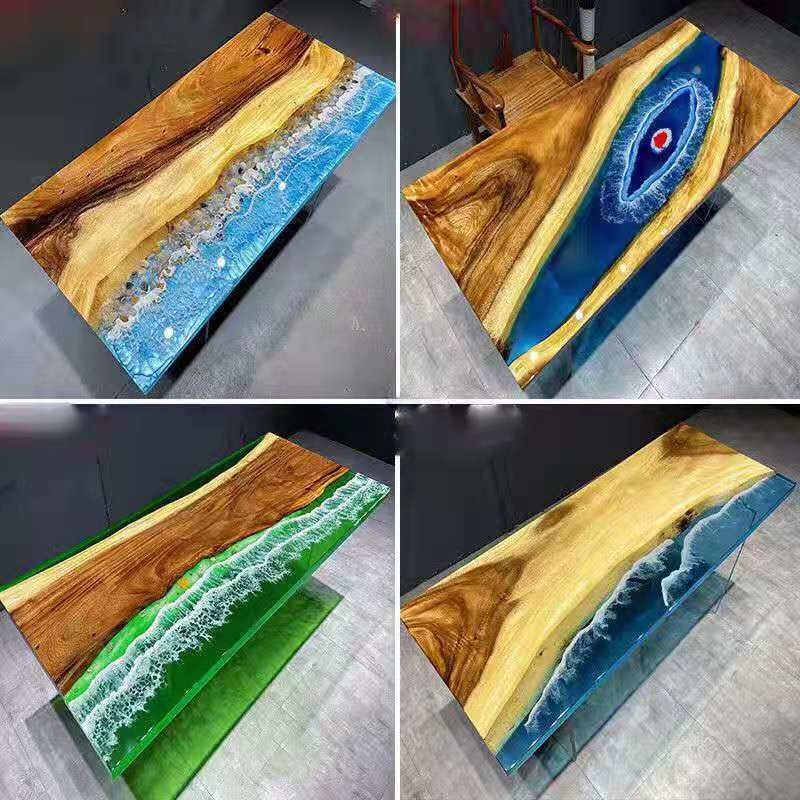
For those looking to push their creative boundaries, exploring advanced epoxy resin techniques can transform a beautiful river table into an extraordinary masterpiece. This is where you can truly personalize your design. Introducing pigments and dyes can create rivers of any imaginable color, from translucent blues mimicking water to opaque blacks for a dramatic contrast, or even vibrant reds like molten lava. Metallic powders can be swirled in to create shimmering, dynamic effects. Some artisans embed objects like stones, crystals, or even LED lights within the resin for added intrigue. The finishing process also offers creative choices; while a high-gloss, polished surface is common, you might opt for a satin or matte finish depending on your desired aesthetic. These advanced techniques allow for an unparalleled level of customization in your DIY river table project, resulting in a truly one-of-a-kind piece.