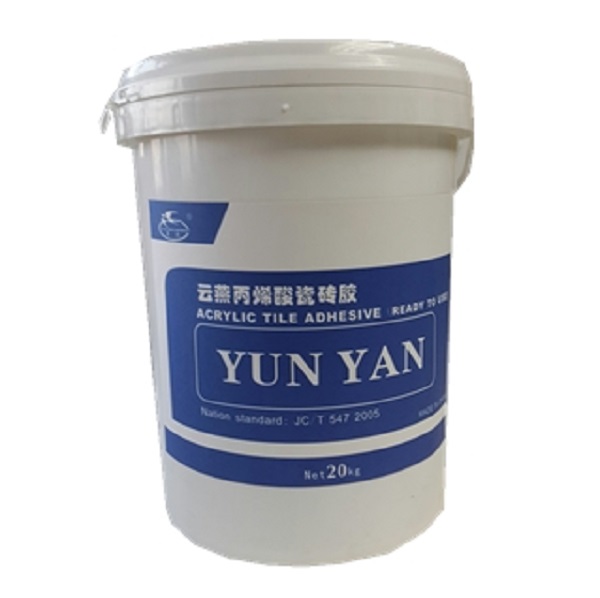

YUNYAN is a manufacturer of epoxy glue, provide OEM service, as a epoxy adhesive supplier, we provide stable quality and good after sales service. More informations please go through: http://www.yunyanchina.com
221 Stone Adhesive is a two parts, super high strength epoxy adhesive, it is formulated for project bonding application of tile,marble and stone on vertical and horizontal surfaces. 221 Stone Adhesive maintains its non-sag consistency at high working temperatures up to 35℃
Ø Fast curing epoxy stone adhesive - 45 minutes to 1 hour set time
Ø High bonding strength, durable bond, will not deteriorate
Ø Water resistant, chemical corrosion resistant.
Ø Anti-aging ,long lasting service, suitable for exterior installations
Ø Use friendly -- 1: 1 mixing ratio by volume
Ø Safe - solvent free
Ø Non staining - ideal for white and light colored stones,other marbles and tiles
Ø Withstands shock and vibration
Ø Non-sag - when applied up to 25mm thick
It is suitable for interior and exterior installation of granite, marble and all kinds of stone’s rapid bonding, repairing and fixed.
Interior Substrates:
Concrete/Steel/Cement Backer Board/Plywood/Brick/Masonry
Exterior Substrates:
Qualified concrete/Steel
Standard:
Ø One 10 litre (9kg) pail of part A, white viscous paste
Ø One 10 litre (9kg) pail of part B, yellow viscous paste
|
Test Item |
Test Method |
Result |
|
Consistency |
JC 887-2001 |
No sag in thickness to 25mm |
|
Pot life at 23℃ |
JC 887-2001 |
30-45 min |
|
Setting time at 23℃ |
JC 887-2001 |
3-4 hours |
|
Shear Bond Strength Stone to Concrete |
JC 887-2001 |
≥8Mpa |
|
Compressive Strength |
JC 887-2001 |
58-60Mpa |
|
Tensile Strength |
JC 887-2001 |
11-15Mpa |
|
Stone glued to stone standard 48h |
JC 887-2001 |
≥10Mpa |
|
Stone glued to stone water immersion 168h |
JC 887-2001 |
≥7Mpa |
|
Stone glued to stone heat treatment 80℃, 168h |
JC 887-2001 |
≥7Mpa |
|
Stone glued to stone freeze and thaw, 50 times |
JC 887-2001 |
≥7Mpa |
|
Applicable temperature after setting time |
JC 887-2001 |
-25℃-80℃ |
Temperature Effects:
|
Temperature |
Pot Life |
Setting time |
|
4℃ |
100 minutes |
10 hours |
|
21℃ |
30-45 minutes |
3-4 hours |
|
32℃ |
25 minutes |
2.5-3 hours |

The unit coverage for 221 Stone Adhesive will vary depending upon the amount of adhesive required to apply to the wall or floor. The chart below is based on 10% coverage of the area of each stone piece.
|
221 Stone Adhesive Thickness |
Approx. Coverage/10 litre unit |
|
3mm |
27-30㎡ |
|
6mm |
14-16㎡ |
|
12mm |
7-7.5㎡ |
Sealed containers are guaranteed to be more than 18 months if stored at between 5℃ to 40℃.
Preparations:
Store resins at room temperature >21°C for 24 hours before using. All surfaces must be sound, clean, free of oil, waxes, frost, curing agents, form release agents or other bond inhibiting contaminants. All substrates must be clean and dry when application of 211 Stone Adhesive is made. Expansion joints shall be provided through the tile work from all construction or expansion joints in the substrate. Do not cover expansion joints with mortar. Finish veneers equipped with any type of resin, mesh,
epoxy or fiberglass backing must be ground down to bare stone in those areas to receive 211 Stone Adhesive. Clean and grind back of stone at areas to receive the 211 Stone Adhesive spots using mechanical wheel grinder with diamond wheel/blade. Remove dust with stiff brush and wipe entire surface. Using damp sponge (not wet), wipe the tile or stone to remove any particles or remaining dust to ensure a clean direct bond and that all ground material is removed. Wipe dry with a clean cloth, then apply 211 Stone Adhesive.
Mixing:
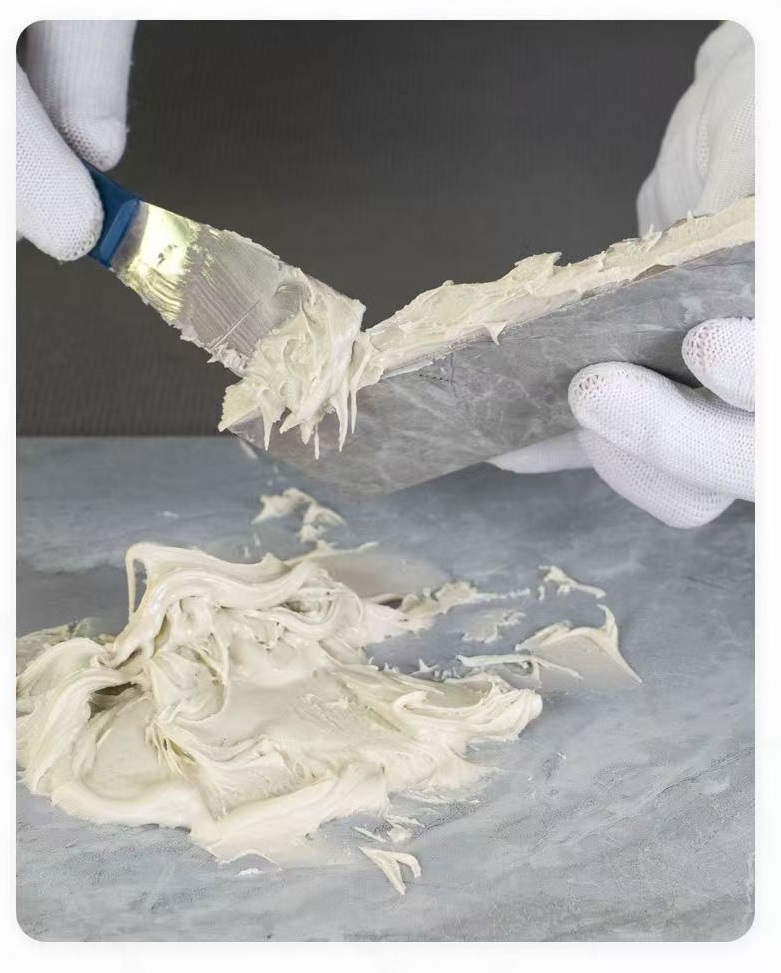
Combine equal volumes of 211 Stone Adhesive Part A and Part B (1:1 mix ratio by volume). Mix until uniform in colour; no swirls. Small quantities can be mixed with a putty knife or margin trowel. Larger quantities can be mixed with an electric drill mixer (low speed).
Application:
Apply dabs evenly distributed on back of the stone or tile; 5 dabs minimum, 1 each corner and 1 in centre. Cover at least 10% of the area of each piece. Finished dab thickness must be a minimum of 3 mm, maximum 25 mm.
Approx. dab diameter required to achieve 10% coverage with 5 dabs
|
Stone or Tile size |
Dab Diameter |
|
300mm x 300mm |
50 mm |
|
600mm x 600mm |
100 mm |
|
900mm x 900mm |
150 mm |
Joint Treatment
Exterior Application:
YY-315H2 water borne epoxy grout or YY-312 cement based grout are recommended
Interior Application:
YY-315H1/315H2 epoxy grout or YY-315 cement based grout are recommended.
Test area to ensure proper filling as narrow veneers and wide gaps behind the veneer may not allow for joint filling with an epoxy or cement grout.
Note: Control, expansion or other movement of joints must be treated with a flexible sealant.
Cleaning
Clean tools and work while epoxy is fresh, using warm water. Detergent or soap can
be added to the water for easier cleaning.